For the sake of fake self-importance, I am going to write this as if someone actually reads anything that appears on this website.
If you are really good at hunting around, you might find some content here from 1999, at the time of writing, about 20 years ago.
Back then, slashdot.org was still new, and the term 'blog' may not have existed, there are differing opinions on that.
The term 'weblog' or 'e-log' existed, but generally, people still wrote their internet content like a book. Chapter 1 would appear first, then chapter 2 which might make reference to things that happened in chapter 1. The reader was generally expected to read chapter 1 before chapter 2.
Fast forward a few years, and attention spans started to shrink. Sites like slashdot.org became the norm. Content creators successfully altered the mindset of consumers to ensure they read their website every day, in reverse order, until they hit content they had already seen previously.
This basically eliminates the possibility of making reference to the previous 'post'. The concept of a previous post was actually a new concept also.
The most extreme way of explaining how the internet works today with the modern blog format is as follows. Lets assume as unlikely that it may be that you were busy at work all day and had no time to scroll through the internet every few minutes, you might check the news at the end of the day and see something like -
• Amazing rescue operation frees all hostages!
• GUNSHOTS HEARD FROM SHOPPING CENTRE!
• Smoke is billowing from an open window.
• Negotiations are continuing.
• Police have the building surrounded.
• Up to 20 hostages believed to be trapped inside.
• Witnesses say there are at least 3 gunmen.
• Reports of multiple gunshots and explosions - follow live.
• Reports of incident unfolding at Seaview Mall Shopping Centre - more to come.
Obviously an extreme example, but its like reading the punchline before you have heard the joke.
In the latest content first blog format that most people now consider to be 'the internet', if you dont read every post every day before another is posted, you will either be -
• Reading out of order, or
• Scrolling past newer posts, and scrolling past the post you want to read until you get to the post you have already read, so you can scroll back up to the first post you have not read yet.
I do not like this.
So what does all this nonsensical ranting mean?
I am now proud to offer both forward and backwards formats. I call these areas of the site Full Trip Reports and All Posts. At the time of writing there are about 820 posts available, and 21 trips. Unless you are reading this site 10 times a day checking for new content I would prefer you read the full trip report and bookmarked the page you were up to.
If you just want a taste of the content, I have a Featured Posts section, which generally has some nicer photos.
If you want to find something specific, go to the tag cloud located in the Search section....tags are an even newer concept than blogs!
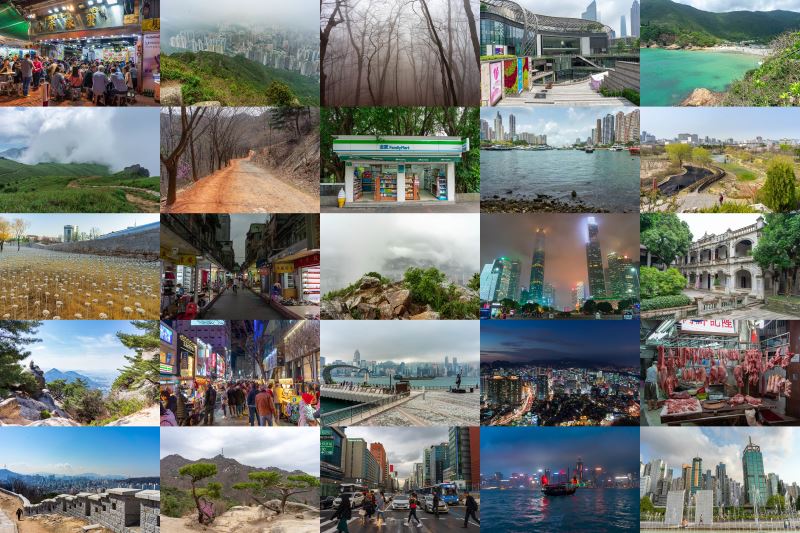
From the 30th of March I will be spending 4 weeks in South Korea, Hong Kong and Southern China.
Specifically, 4 nights in Seoul, 4 nights in Daejeon, another 3 nights in Seoul, 4 nights in Hong Kong, 6 nights in Guangzhou and then another 4 nights in Hong Kong. Of those cities, there are 2 new ones, Daejeon and Guangzhou.
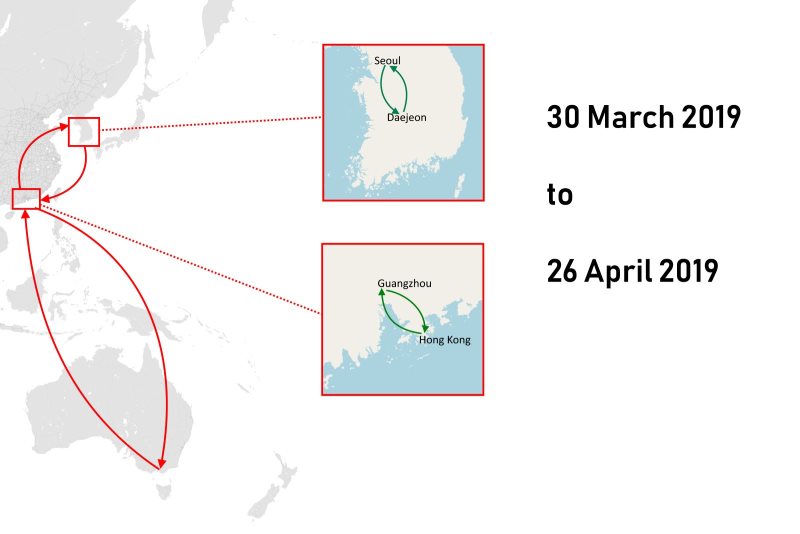
For the Geographically challenged, here is a map I hacked together by taking screenshots of possibly copyrighted content.
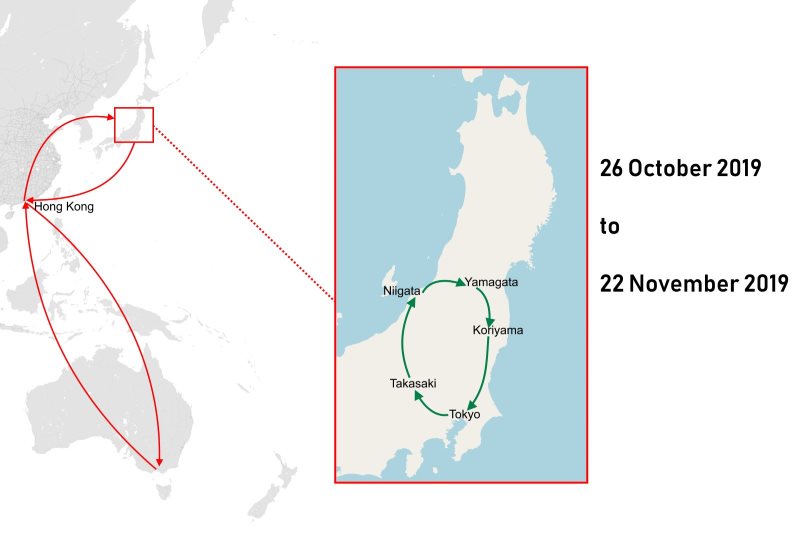
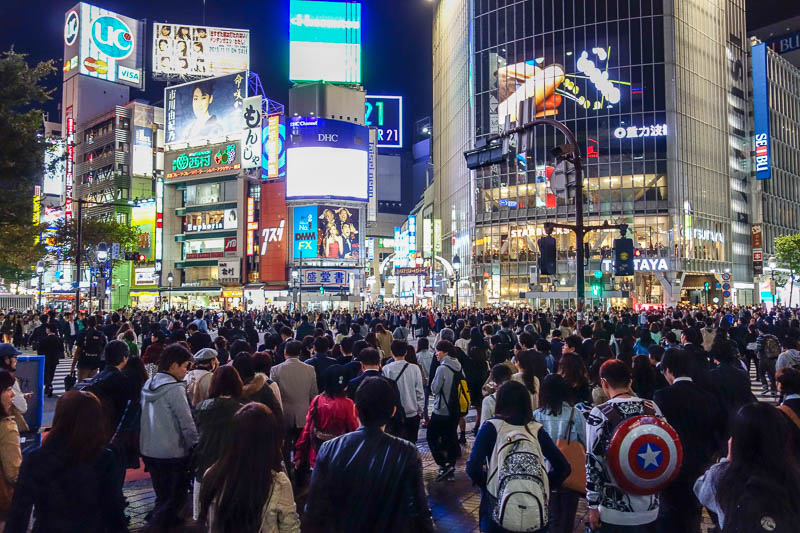
From the 26th of October I will be spending 4 weeks in Japan, again, in what has become an annual pilgrimage around November. This time I will be taking a clockwise loop north of Tokyo, but sticking to the main island of Honshu. Specifically, 6 nights in Tokyo, 3 Nights in Takasaki, 4 nights in Niigata, 3 nights in Yamagata, 3 nights in Koriyama and another 6 nights in Tokyo.
All of these are new cities apart from Tokoyo, which is like my second home these days. As usual my focus will be hiking, I may even see some early snow on the mountains.
As the title suggests, this is going to get really technical. I will be discussing Adobe Lightroom, retina screens, css resizing, view portals, ICC color profiles, raw vs jpg files... oh my.
As usual I am going to write this assuming someone cares, chances are, no one does, yet, maybe I will go viral one day due to one of these idiotic psychopathic rants?
For a month or so now I have been trying to 'fix' my pictures, this has posed no end of problems. Allow me to explain.
On each of my boring self indulgent trips, I take a small laptop with me, use Adobe Lightroom as my photo cataloguer / editor, shoot either jpg (in the past) or raw (now) photos, do some minor (in the past) or major (now) edits in Adobe Lightroom, before exporting them to a couple of different sizes and uploading.
The size of files required has increased over my many years of aimless wandering, originally no one had a screen bigger than 1024x768 pixels, and most people had 800x600. I think at that time when I exported the preview images, which is all 99% of people see, at only 300 pixels wide!
Fast forward now to 2019, and we have a much much more complex world, which I shall try and explain, but first....
Many years ago I either had a camera that did not shoot raw, or chose to shoot jpeg because I did not understand why I would bother with raw. In fact at various points I did not use an editor program at all, I exported jpegs straight out of camera (SooC) and used a resizing tool embedded into the windows shell.
Fortunately, I still have nearly all the original higher megapixel jpegs, and I certainly have all the raws from the last few years since I first swapped to a Fujifilm x70 and then more recently a Sony a7ii. Well actually I lost about a dozen which infuriates me because I dont know how it happened but thats a different rant about backups...
So what does that mean? It means I have an opportunity to go back and re edit older trips in lightroom, and export at higher resolution. My current preference is the previews are to be 800 css pixels wide, where as the full size images will be 1600 css pixels wide. More on css pixels later. To hold your interest (who am I kidding? no one read this far!), below are examples of original and re-edited photos from my full lap of Taiwan trip in 2017.
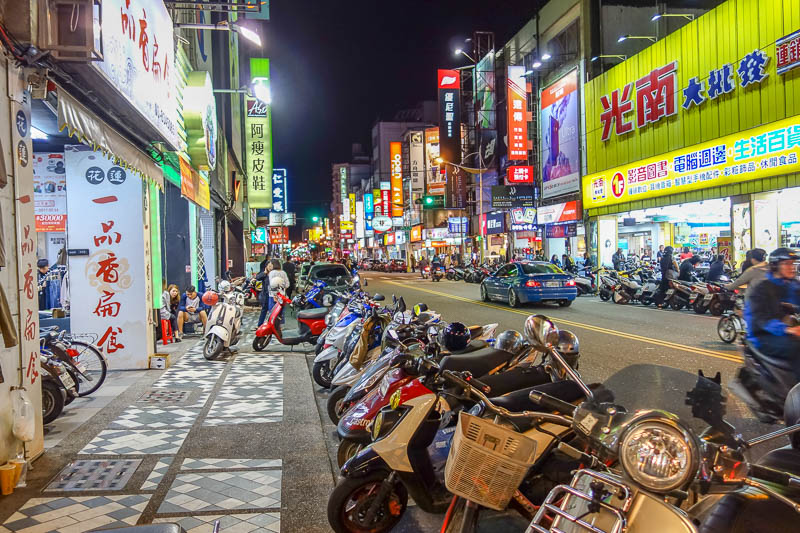
A re-edited version, hopefully it looks better... possibly over-saturated but that's my preference. I LIKE EYE CANCER! The signs should be less blown out, the shadows should no longer be black.
OK, now that we have got the re editing out of the way, its time to explain the failing of taking photos using in camera jpeg conversion as opposed to raw.
My old Sony RX100 mk1 served me well for many many years. I still have it, it still works, the optical stabilisation servo buzzes like mad and the strap lug ripped off the side but as far as I can tell it still takes photos as well as it did the day I bought it.
It only has a 1 inch sensor, so its low light performance is really poor compared to say, a full frame Sony a7ii, however to compensate I frequently used the RX100's multiple frame noise reduction. Most people do not understand this feature, it effectively stacks a lot of noisy high ISO images on top of each other, lines them up and removes the noise by averaging the pixels across 5 or so frames. The downside, you have to disable raw capture to use it. So I did.
The impact I can see now is that because I was using MFNR (multi frame noise reduction) I messed with the jpeg engine in my Sony RX100 a lot, to produce SooC (straight out of camera) images that to my eye looked sharp and vivid. These are generally badly over-sharpened, and now there is nothing I can do about that. They look fine from afar, but have a 1:1 peak and you have a water color painting as shown below.
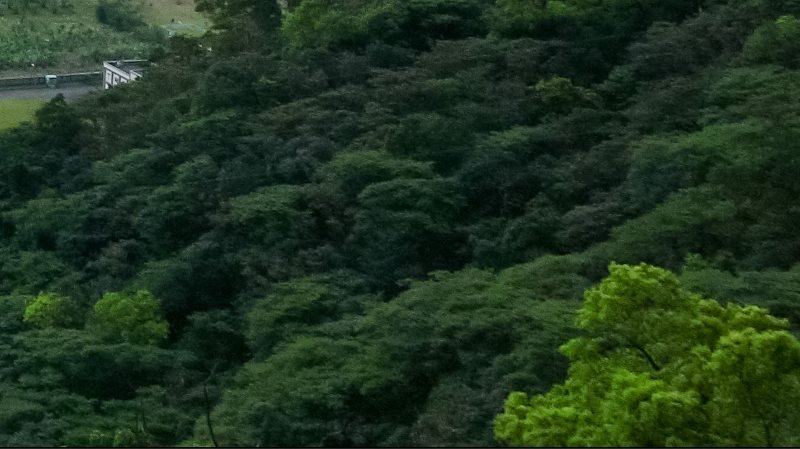
An example of an over-sharpened jpeg from my Sony RX100. Nothing I can do about that now, it is worse where there is lots of green and darker scenes which probably used Multi Frame Noise Reduction. The lesson here, always shoot raw in case years later the technology exists or demands that you stare closer at the pixels.
Now for my next failing. Exporting and importing Lightroom catalogues. As mentioned, while travelling I use a small laptop, import my photos, do my edits, export, upload.
When I return from my trips, I reimport my photos from the SD cards, I don't delete the files from the SD cards while travelling, as I consider the tiny fragile easily lost cards to be an extra backup.
Anyway, what I should do after reimporting those files onto my home pc, is export the catalogue from my laptop with all the edits, photos marked for rejection, processing history etc. Until my most recent Japan trip I have never done that. Epic fail. I am repopularizing the term epic fail by the way.
This was never a big issue until I wanted to go back and re export all the raws from trips many years ago. You see like most people, I take about 50% more photos than I end up using. When I get back to my hotel room each night, I go through the photos from the day, mark some of them as rejected, edit the 'keepers' then export and upload. By not exporting and importing the catalogue I lose all the data about which are keepers, as well as all the edits, including cropping, that I performed while I was on my trip.
So now I have to go through 1500 photos to identify the 1000 keepers (per trip!), and start editing all over again. That is very time consuming!
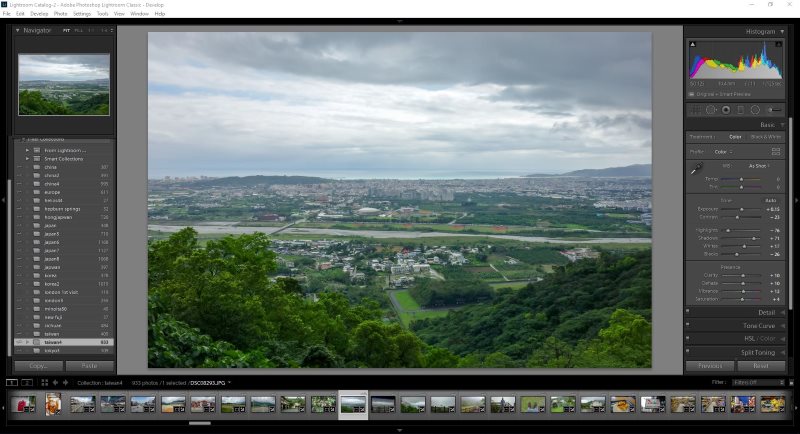
Here is what Adobe Lightroom looks like in 2019. This is after I have gone through and rejected all the unused photos from my Full Lap of Taiwan trip and re edited all 933 photos.
If you are still following along, now its time to get even more technical. Who is excited? Oh that's right, no one reads this.
Anyway, its now time to talk about ICC color profiles, color space (also known as color model or color system) and imagemagick.
The reason I have re-edited and uploaded the aforementioned Taiwan trip first is because I made a stupid error in Lightroom that I have only properly resolved by re editing and exporting all those photos.
In 2017 just before going to Taiwan, I reinstalled Lightroom on my travel laptop. This reset everything, it has lots of options. For some reason when I went to export photos, I did not notice that the color space was not sRGB. It was ProPhoto RGB. There is also Adobe RGB. Maybe you have heard of RGB, it means red green blue. Your monitor / screen displays pixels in these colors. There is also CMYK, used more for paper printing, which means Cyan, Magenta, Yellow, Key. Lets not worry about that for now.
sRGB is the most common, and its the only one that is properly supported by all browsers. It is also the least colorful RGB color space.
You see, when we look at red, green, blue etc on our monitor, we are not seeing something that is as red as it can be, or as blue as it can be. It is impossible to display those reds on a monitor that does not support ProPhoto RGB or Adobe RGB.
The issue is, if you export a file using ProPhoto RGB and attempt to display it on an sRGB monitor, it will appear dull and muted.
I have done my best to illustrate this below by exporting a photo as ProPhoto RGB, taking a screen-capture, saving the screen-capture etc. I think this would therefore display dull and muted even if you are lucky enough to have some kind of super monitor and browser capable of displaying ProPhoto RGB correctly.
Just before I share the horrific comparison, I will describe how I thought I fixed this.
There is a tool, imagemagick, which is fantastic, a command line utility primarily for Linux. This allows you to do about a million things, including changing the color space. For years I thought after I ran a large bash command on my Taiwan4 directory I had fixed this, but alas I had not. You see I had converted to sRGB2016, which is some sort of other half fixed barely documented profile that no one uses.
Hence as you will see, further reason to re-import, re-reject non-keepers, re-edit, re-upload. So much re.
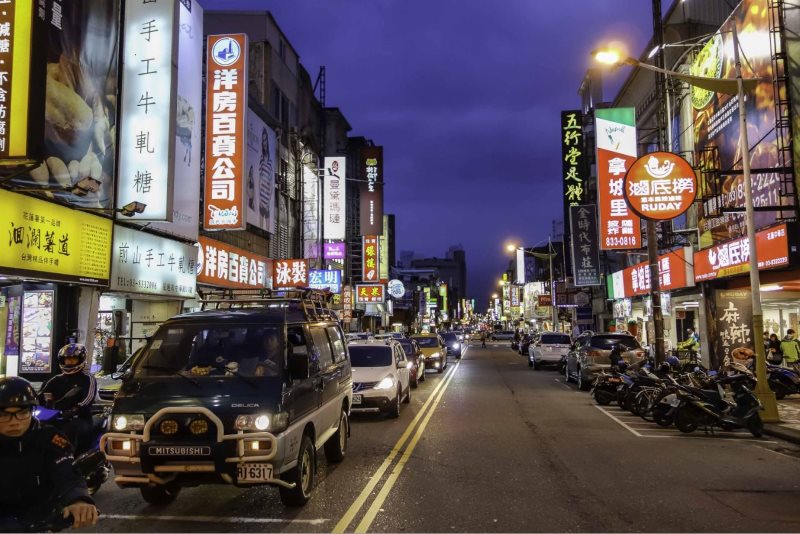
Here is what my Full Lap of Taiwan photos originally looked like, when erroneously exported as ProPhoto RGB. Dull, Muted. As mentioned I kind of sort of fixed them with Imagemagick, but they were still sort of wacky. This fix is different to the one above which was simply not editing aggressively. In this image, look at anything that should be red, green or blue, and note how it is not FULLY red, green or blue.
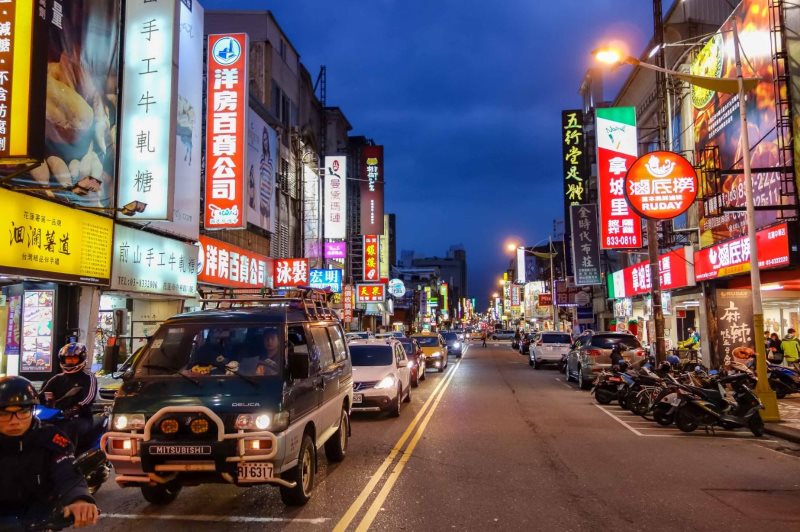
And here is the exact same photo, same edits as above, exported correctly with the narrower gamut sRGB color profile. Much more vibrant. Happy times. Also how often do you get to use the word gamut!
Now we get to the final problem (or is it?), which is also the hardest to explain, the effect of HDPI screens. The acronym alone is confusing since it either means high dots per inch, or high density per inch or high density pixels or high dot density per pixel inch or hotdog pickles. Nobody knows.
Anyway, Apple at least popularised the concept, and to understand it correctly, you need to understand what is meant by CSS width or viewport width and how that differs from pixel width. I am already confused.
Take a deep breath.
If you have an HDPI or Retina screen, and you are browsing the internet, you might have a screen that is 2880 pixels wide (common size of current Macbook pro.... I think).
However despite having 2880 pixels of width, the browser (Safari, Chrome, Firefox, Edge etc) automatically zooms all HTML content apart from images to 200%, e.g. 1440 pixels wide. I think this is done at the operating system level. Without this, a full screen web page on a macbook pro would have text too tiny to read.
Now things get a little more tricky. Note this also occurs with phones and ipads, all of which have many more physical pixels than viewport or css pixels. It is however seemingly a lot less of an issue on a phone because the image is postage stamp sized and the pixels are much much tinier. Anyway I digress....
To show off their new OMG RETINA!!!! screens, apple didnt just zoom everything including the images on existing web pages. Well they did, but then your web page looks like geocities gif art. Instead the operating system knows that the image MIGHT be resized (squished) on non retina, and that there are more pixels available for retina. How convoluted is this??? Time for bullet points.
Lets say we want to display a picture that's 800 pixels wide, this is quite a common size, it suits 1920px and older 1200px and even 1024px wide monitors well. I am going to struggle to explain this. An 800 x 533 image has 426,400 pixels, that will be important later. TO THE BULLET POINTS!
• 1920 physical pixels (modern desktop LCD) - 800px jpg will occupy 41.66% of the screen width. 1 x jpg pixel = 1 x screen width pixel.
• 1920 physical pixels (modern desktop LCD) - 800px html table will occupy 41.66% of the screen. 1 x html pixel = 1 x screen pixel.
• 2440 physical pixels (retina screen) - 800px jpg without any css max width or % property will occupy 65.57% of the screen, but will be blown up to be 1600 physical pixels wide, and look terrible. 1 x jpg piexl = 2 x screen width pixels.
• 2440 physical pixels (retina screen) - 1600px jpg with css to resize it to half its pixel width to make it 800 pixels instead of 1600 pixels will occupy 65.57% of the screen, and will have 1 jpeg pixel for every screen pixel, but only use 800 css or viewport pixels! But it will look sharp and crisp.
• 2440 physical pixels (retina screen) - 800px html table will occupy 65.57% of the screen. 1 x html/css/viewport pixel = 2 x screen pixels. Because non img content is generally solid color vectors or whatever you want to call it, it looks sharp despite being blown up
So now we have a choice to make. Both require messing with CSS to accommodate the other. Either export 800px wide images and let retina screens blow them up to 2x their pixel width on retina screens and look terrible, or export 1600px wide images and use css to set them to max-width 800px which will halve the number of pixels used on non retina screens but use all 1600 on retina screens despite you setting max-width to 800 pixels because the operating system overrides that and displays 1600 pixels on a retina screen.....EXCEPT.....
I really thought 1600px and css max-width 800px was the answer. Sure it looks right, the correct amount of screen is filled with images and on retina screens you get sharp images that are double the css pixel width. Logic would suggest that blowing up an image to be physically larger than the number of pixels will look terrible as it has to invent data, where as shrinking a 1600px wide image to 800px wide should look great. Generally when I export from Lightroom I am shrinking an image from 5472 pixels to 800 pixels wide and it looks great, but then we have to deal with Google Chrome (and numerous other browsers).
You see, Chrome cant render css resized images in anything close to resembling acceptable quality. There is terrible moire, terrible aliasing, and to make matters worse its inconsistent and may or may not hand off the resizing to your graphics processing unit depending on how its feeling. Heres a couple of examples as to JUST HOW BAD THAT CAN BE. Sorry retina users but I cant really demonstrate this using high res images for you guys, but I think you can still see what I am talking about...in lower res than you would like.
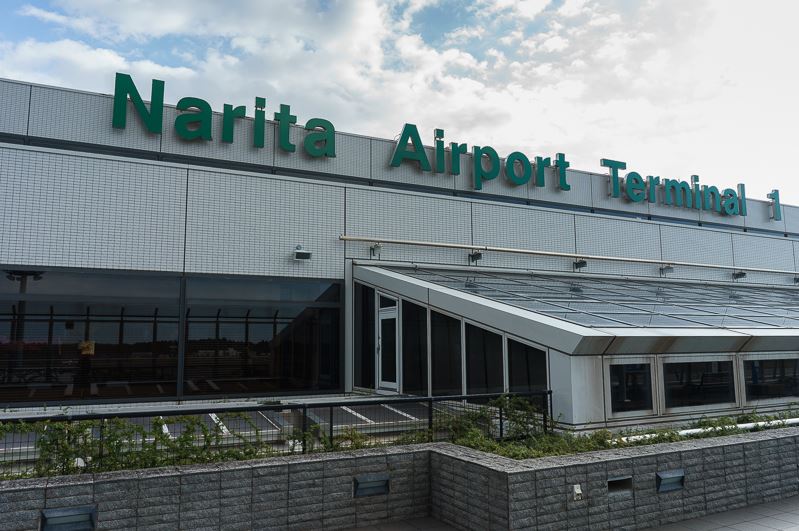
Screen capture of 800px image rendered at 800px in Chrome, looks fine, its a crappy picture, but chrome has not contributed to that.
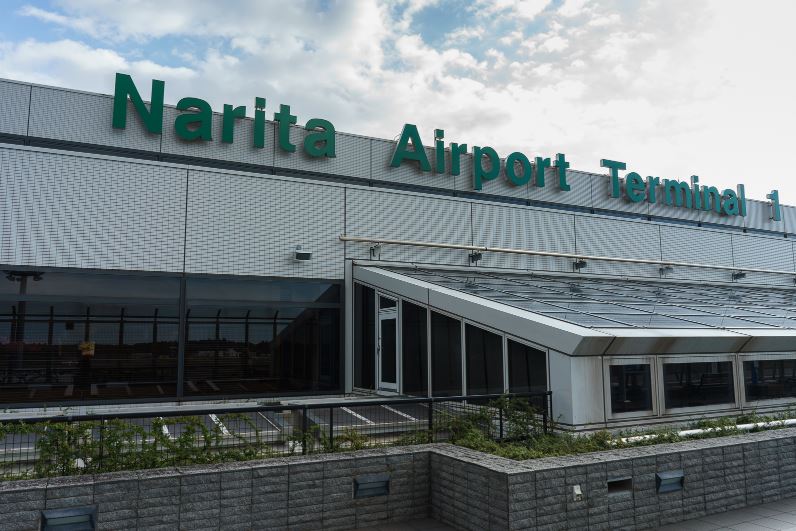
Screen capture of 1600px image rendered at 800px in Chrome, terrible moire, look at the pattern in the tiles. If I exported all images for retina and shrunk for Chrome, they would all suffer this fate for non retina users.
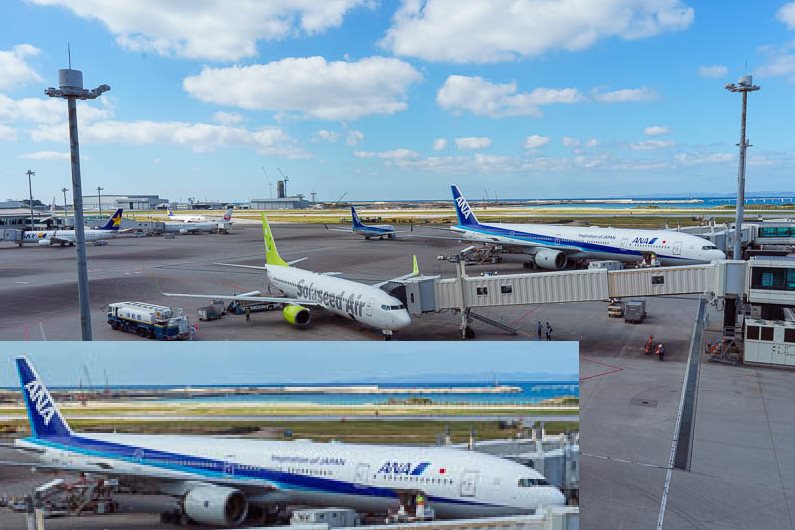
Screen capture of an image exported from Lightroom at 800px, rendered at 800px in Chrome, with the ANA jet blown up into the bottom left to highlight the issue. LOOKS FINE.
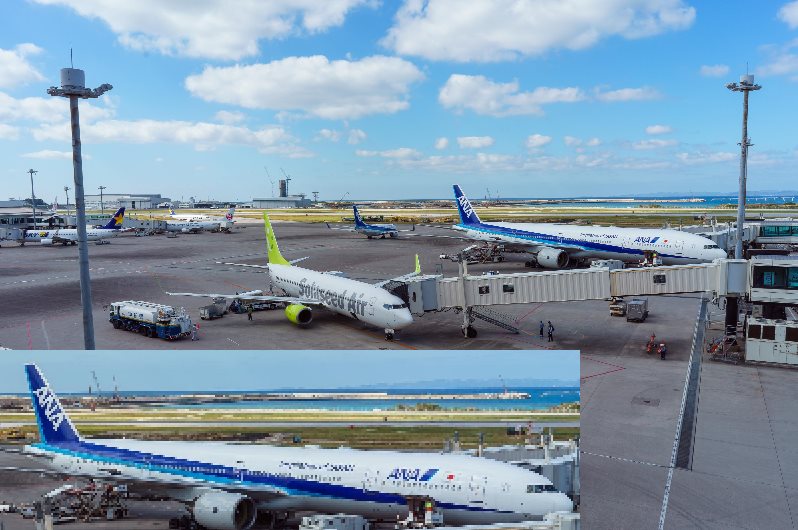
Screen capture of the same image, exported from Lightroom at 1600px, rendered at 800px in Chrome, note the terrible aliasing on the blue paint of the ANA jet and also the wing.
The above is an extreme example, the impact is more pronounced when there are straight lines that are not vertical or horizontal, but assuming I have made my sample jpegs correctly, hopefully you can see and agree that this looks absolutely horrifically additional adjectives here... terrible.
So what is the answer? I tried and tried to find a way to do this in css, there are options for webkit and non webkit browsers to do something with higher contrast or sharper edges, but the impact of them was basically nothing in my testing, or sometimes it made it worse. On top of that is the possibility that sometimes Chrome hands off the job to your GPU, and then its anyones guess.
Therefore, I finally relented, and decided that I need 3 images for every 2......
• For normal screens, thumbnails are 800px, displayed at 800 css px, full size are 1600px, displayed at 1600 css px.
• For retina screens, thumbnails are 1600px, displayed at 800 css px but 1600 retina px, full size are 3200px, displayed at 1600 css px but 3200 retina px.
This works, fine, but you need to get your head around srcset which lets the browser choose which 2 out of 3 pics to use for each user based on their 'media' width, which is css code for physical pixels, as opposed to css pixels.
OK then, the last piece of the puzzle is compression. To understand why additional compression is needed, lets go back to the very start of this diatribic rant (I made up the word diatribic just now).
• An 800 x 533 image has 426,400 pixels.
• A 1600 x 1067 image has 1,707,200 pixels.
• A 3200 x 2133 image has 6,825,600 pixels!!!!!!
Exporting them all as quality 80 from Lightroom, as I used to do, would result in every webpage rendered using srcset for retina users transferring roughly an exabyte of data.
In examining the above chrome rendering issues I found numerous people discussing the 'cost' of supporting retina. I wish I had an actual cost issue where bandwidth was costing me, but I get only 5 readers a day so its not actually a cost issue, just one of convenience. Anyway, the collective wisdom has changed.
It used to be that you must export no less than 80 quality or suffer the wrath of the masses. It is now common practice to export at 30 quality whenever exporting for retina.
My LONG experiments in Lightroom export quality have led me to the following-
• 800 wide 60 quality.
• 1600 wide 30 quality.
• 3200 wide 30 quality.
This is significantly less than I previously thought would be acceptable. I reserve the right to again decide this is unacceptable as soon as banding in sky gradients starts to bother me, but that's a rant for another day!
This will be the first of a few retrospective introspective reflections on past trips I have taken which have been triggered by my need to re edit, re upload and re re re every photo from most of my previous trips.
You can read about that saga by Clicking this link here which kind of appears to be a different color to let you know its a link.
It really is quite the long winded saga, but alas, onto the Taiwan trip retrospective.
In March 2017 I did a full clockwise lap of Taiwan, staying in the following cities -
• Taipei
• Hualien
• Taitung
• Kaohsiung
• Tainan
• Puli
• Taipei
I had only previously stayed in Taipei and Kaohsiung, so it was quite the adventure, taking the slow train down the East coast and the Bullet train up the West coast. I like trains.
While re-editing the photos, I realised that basically the entire trip was grey, and at least half of it was raining. While I was there I didn't really notice or complain about that, but compared to my recent Japan trip, which had 1/2 a day of rain total in 28 days, Taiwan was epically rainy.
Highlights were setting my all time steps records, as well as the two main tourist destinations of Taroko Gorge and Sun Moon Lake, although it was raining when I visited both of them!
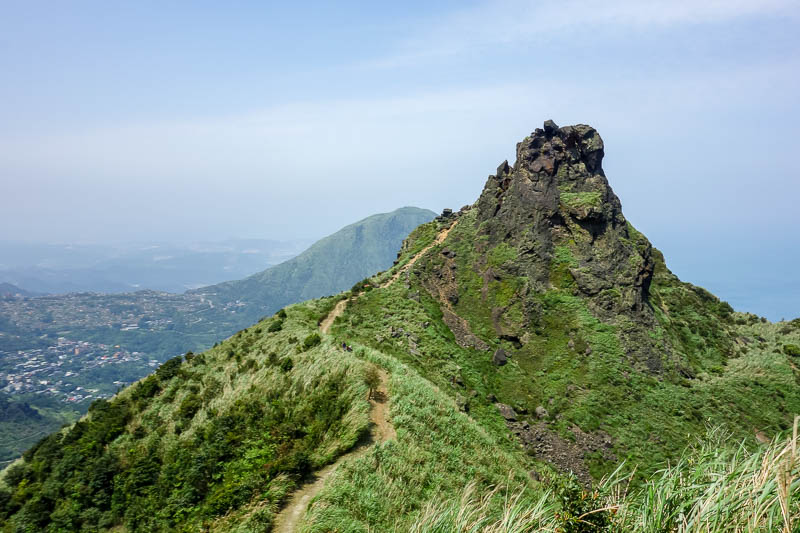
Best hike was the Teapot mountain near Jiufen.
Also, Taipei is still one of my favourite cities, with excellent day trips to go hiking, and great food....as you shall see.
Oh and heres one last reminder, to read the full full lap of taiwan trip report, CLICK HERE.
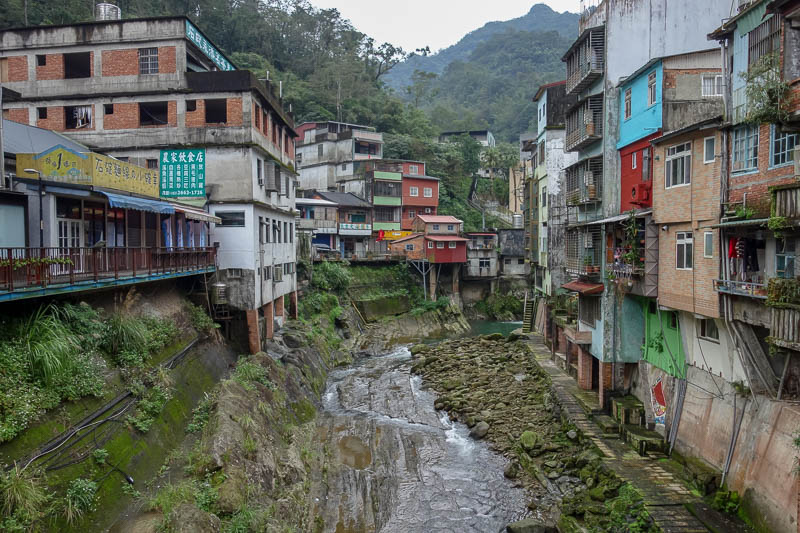
The first hike of the trip was to Shihding. It is also where I bought my rain coat. A grey rainy day.
I liked the colorful villages and the view of Taipei 101 from afar.
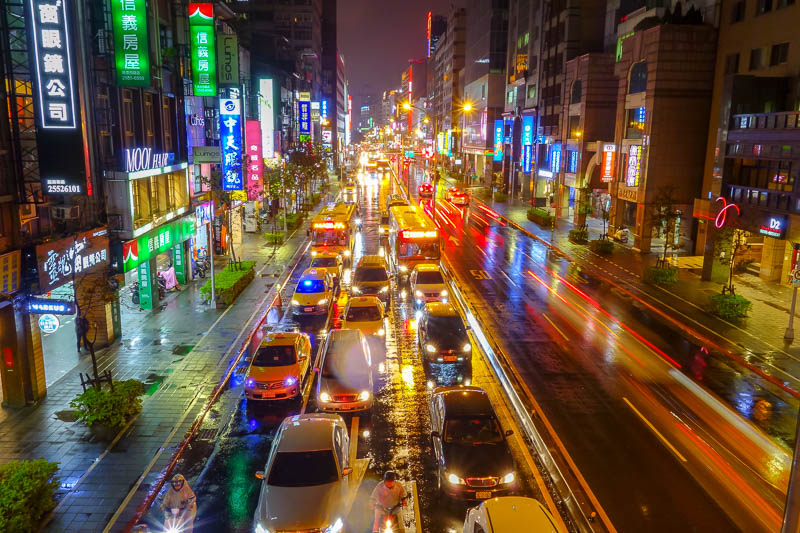
Here is a photo of Taipei, in the rain. The theme of this trip was rain. I remember some bemused locals looking at me like I was a lunatic for standing up on this overpass in the rain balancing my camera to take a long exposure. More than once on this trip my camera fogged up, internally.
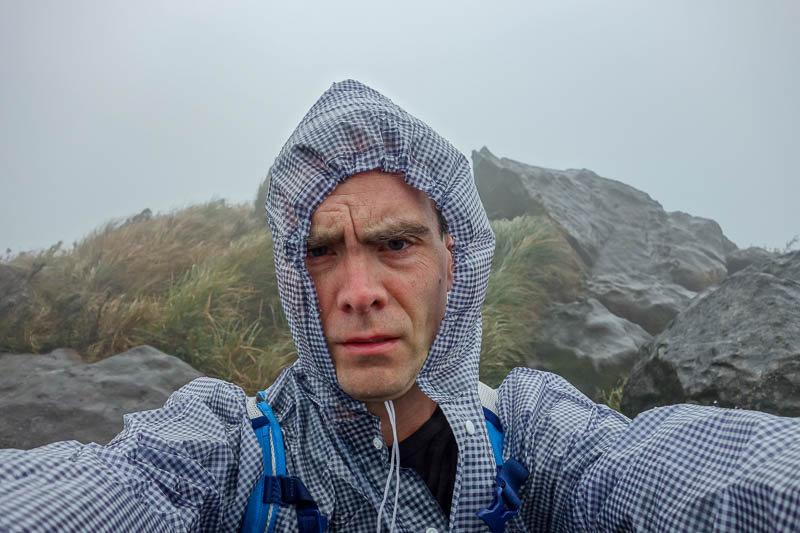
To celebrate the continuing rain, its me, in my rain coat, bought for $2 from 7-eleven. Did you know Taiwan has the highest density of convenience stores of any country in the world? I read that somewhere once.
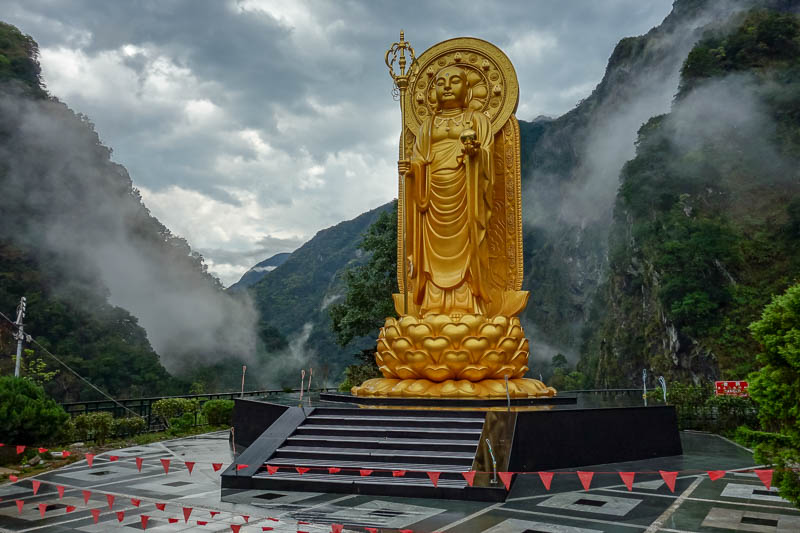
This is Taroko Gorge. Everyone that goes to Taiwan goes there. It took me until my 4th trip to go there. It was worth it, it rained. There was however a golden Buddha.
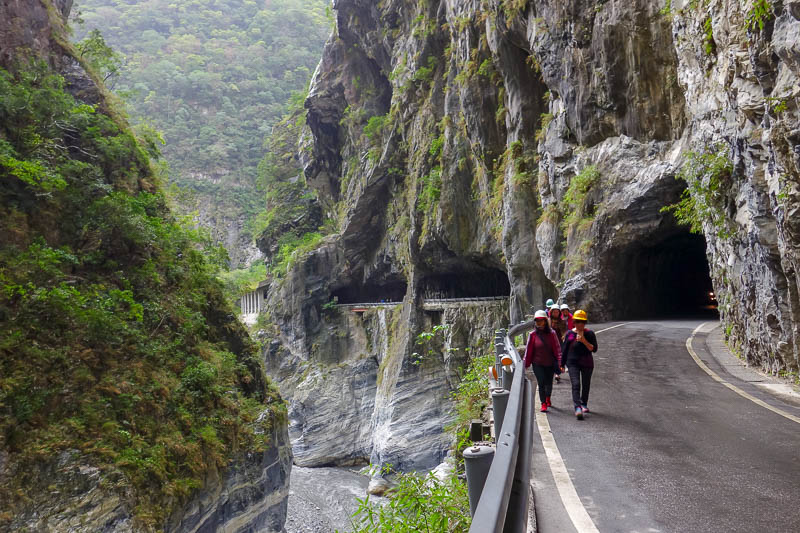
I thought I should include a photo of the actual gorge. It is one of those things where photos do not do the scale justice. Everyone says that so I will also.
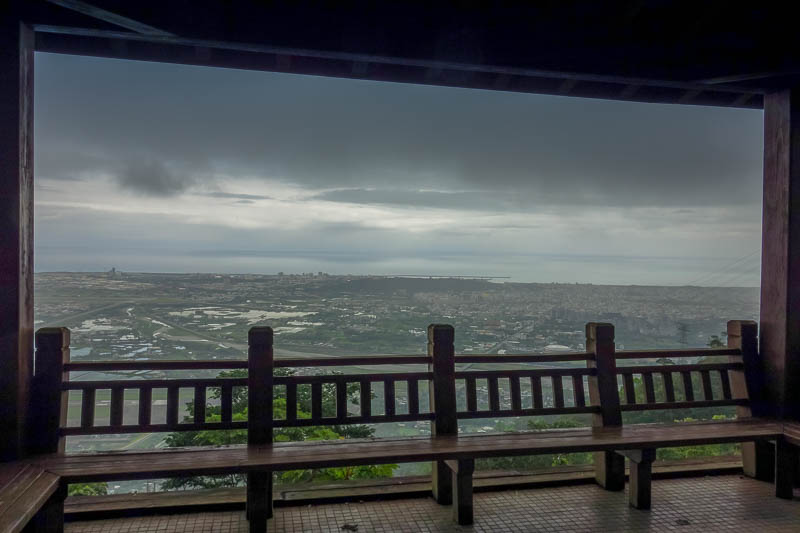
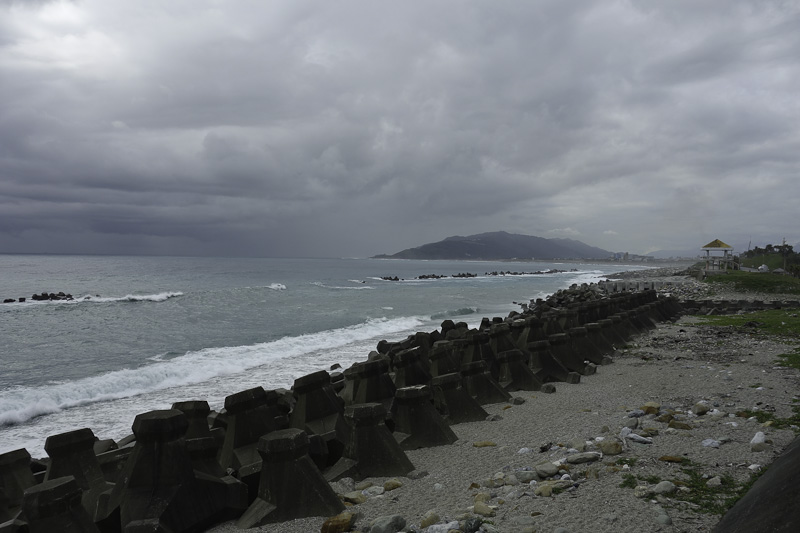
Here is a view of Hualien...in the rain. I got more saturated on this day than any other day except the day I got ultra saturated running a lap of Sun Moon Lake. So, second most saturated day.
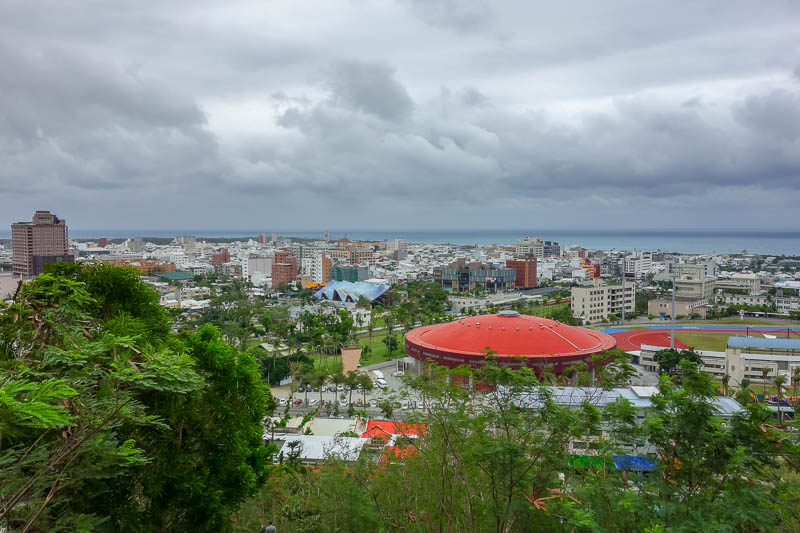
Taitung was the smallest city I visited. Here it is. As seen from a strange temple complex that appears to be built on an artificial coral reef.
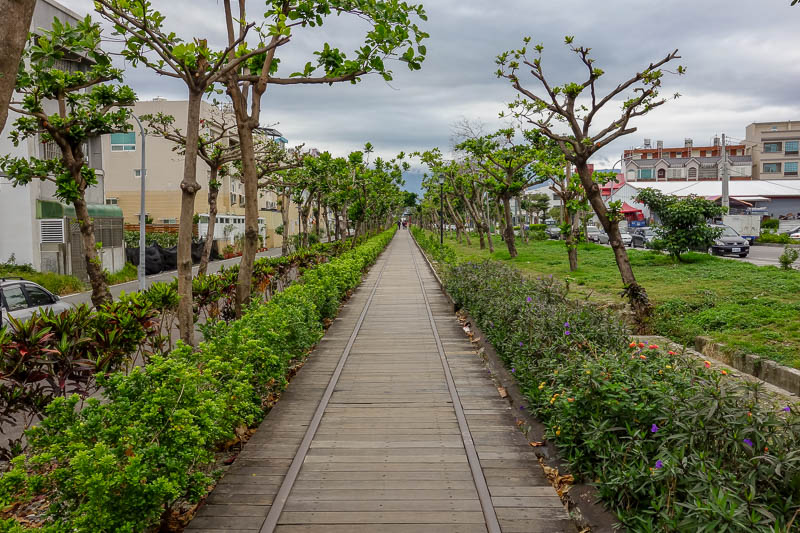
Like a fool, I decided on the first dry day to go to a museum, which is normally a raniny day activity. The path to the strange Museum of Pre History followed an old train track, except the high quality walking path disappeared into a ravine at one point, forcing a detour.
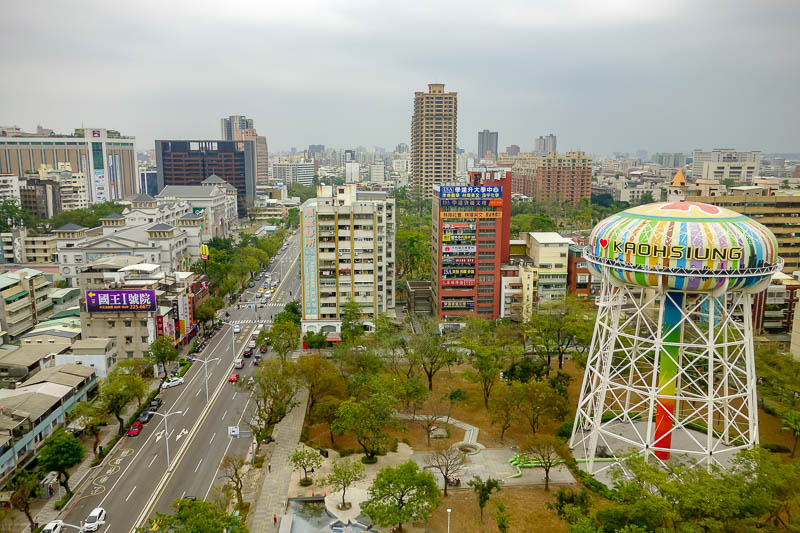
Kaohsiung is a city I enjoyed on a previous visit, and I enjoyed it again this time. I stayed in the same hotel and had the same view, here it is.
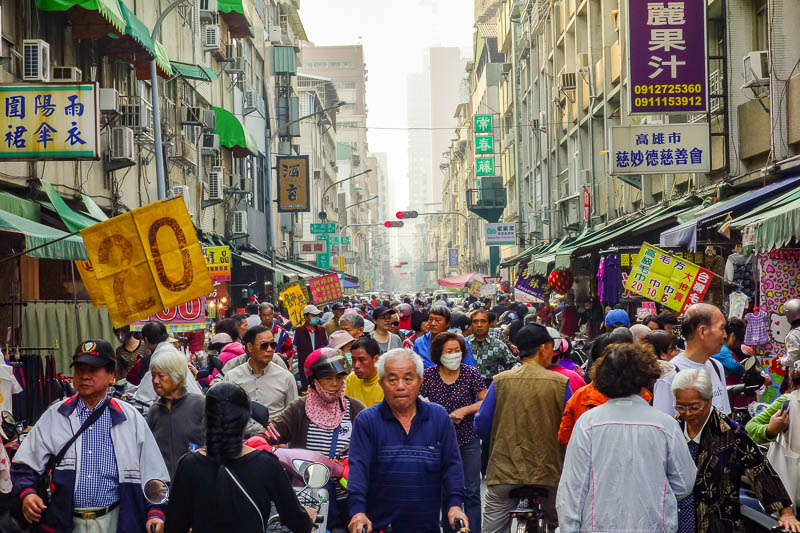
One of the better photos I took on this trip was this man with his walking frame in the busy day market. Day markets are like night markets, except they are in the day and sell fresh ingredients rather than prepared meals. Thats the best way I can describe it. Alternatively, day markets are for old people.
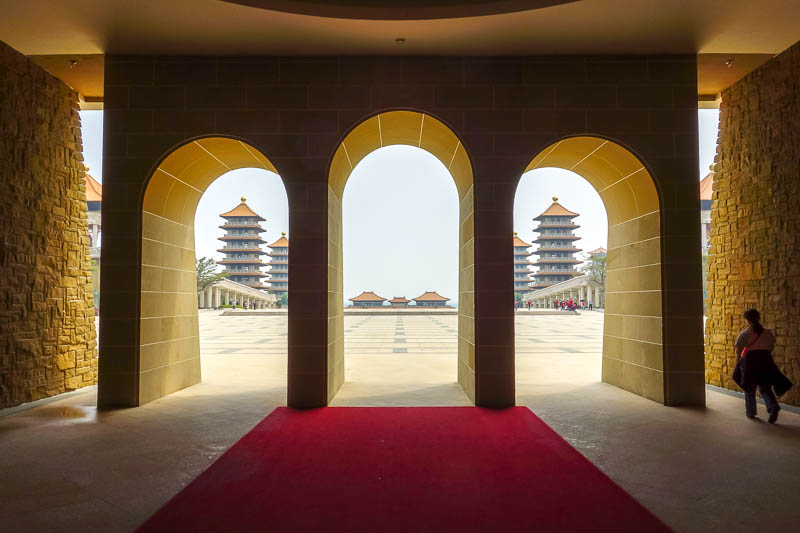
An up and coming tourist attraction near Kaohsiung is FoGuangShan Buddha amusement park, complete with Starbucks. It is very spectacular, everything is coated with gold.
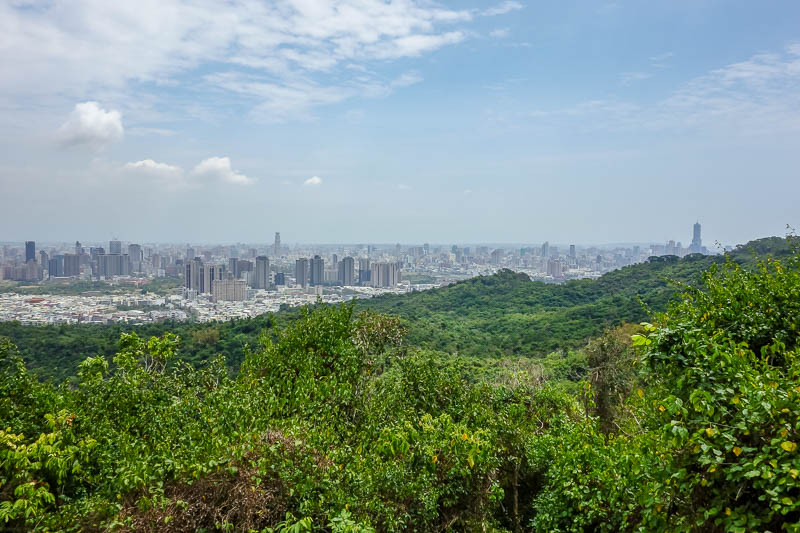
Kaohsiung has a city mountain, from where you can see the city. It was a grey polluted day, but squint hard and you can see the city, including the triforce building.
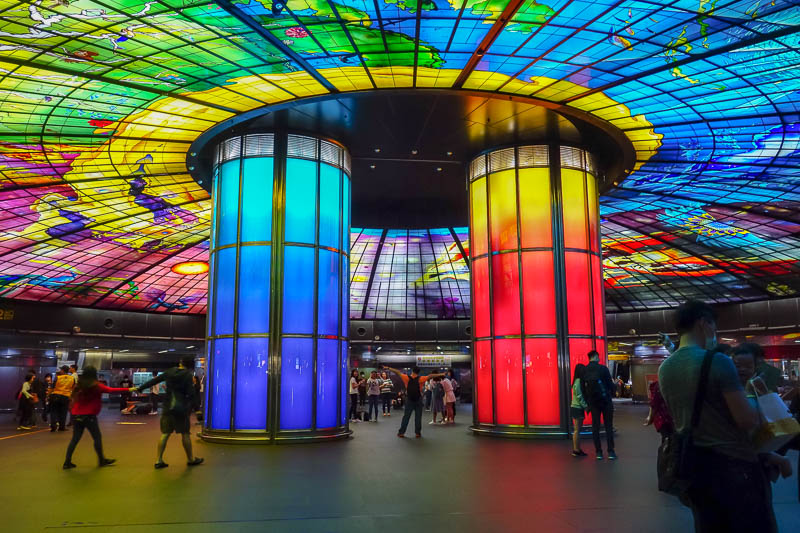
The subway system in Kaohsiung is new. Actually its over 10 years old. But the most touristy or insta-worthy photo you can take in the city is from this spot, so I did.
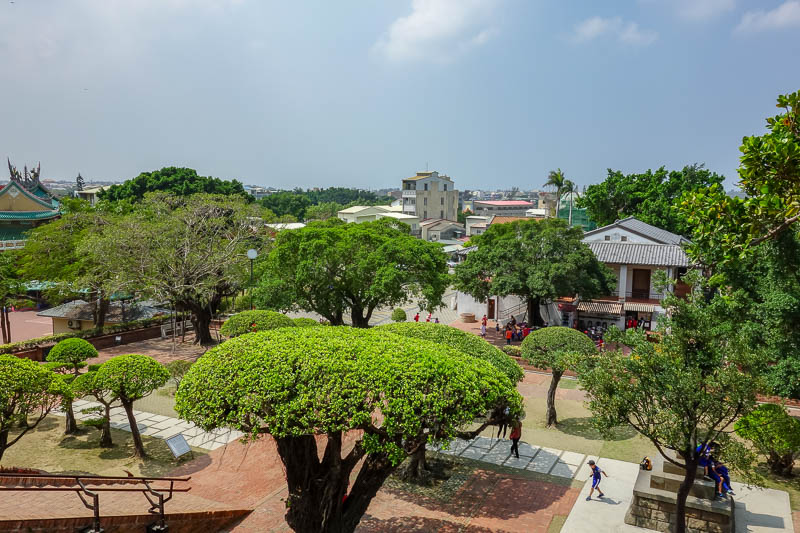
Here I have moved on to Tainan, and gone to the main tourist attraction, the old Fort Zeelandia. I found it underwhelming.
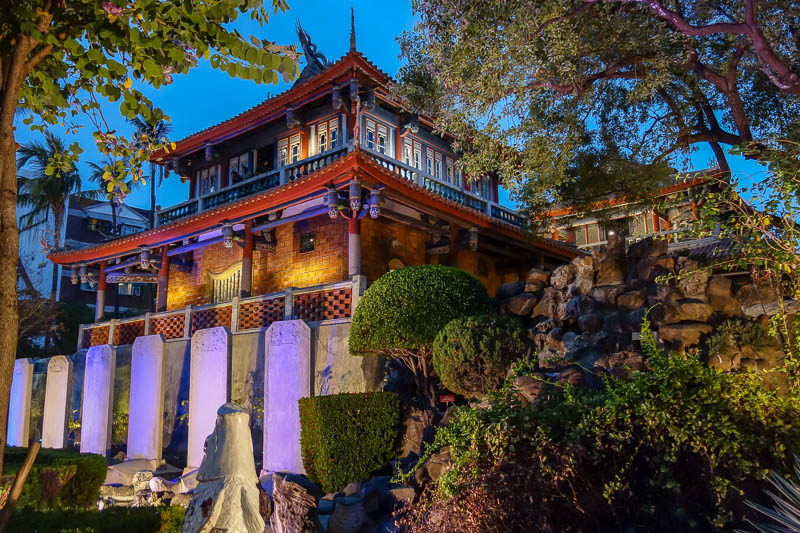
They call this a fort as well, but I suspect its somewhere that used to be a Dutch fort that got rebuilt. Now its called the Chicken Tower, but has no chicken or tower.
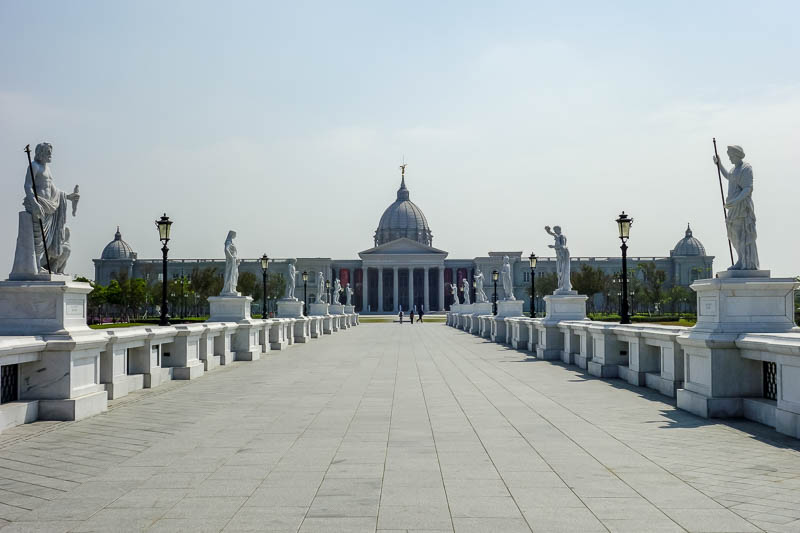
The most bizzarre thing in Taiwan, is the Palace of Versailles Chimei electric fan company museum. It is on old industrial land quite literally in the middle of nowhere. Theres a lot of money to be made making cheap plastic electric fans and light fittings.
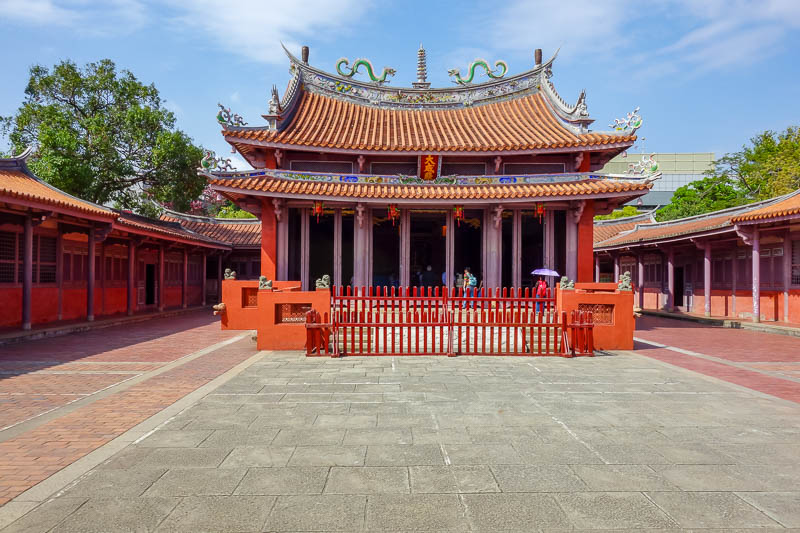
Tainan used to be the capital of Taiwan, so they have good temples, this is a Confucius temple. I got chased by a turtle.
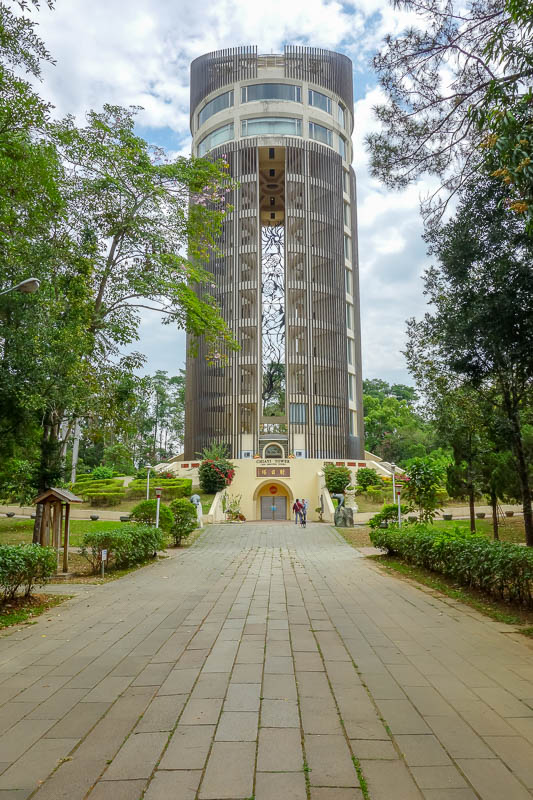
On a slightly rainy day I took a side trip up the bullet train to the next town over, Chiayi, and visited their Sun Shooting Tower. I seem to recall that soon after I visited they had a sizeable earthquake.
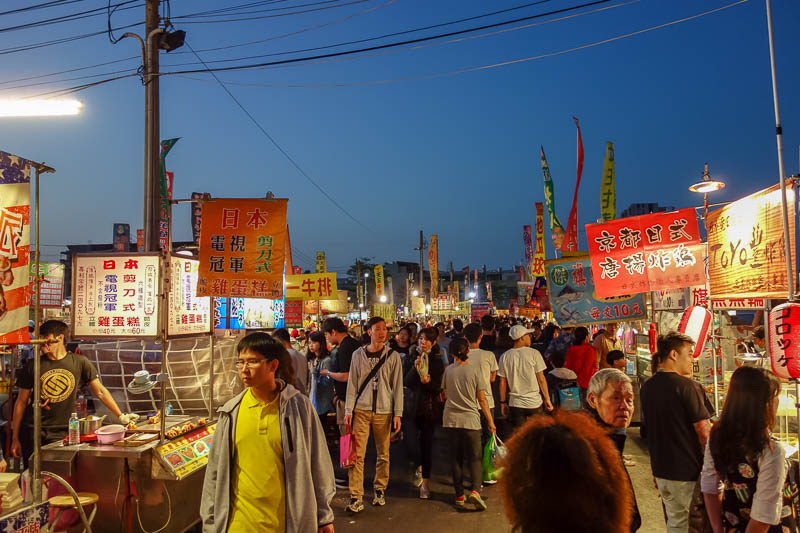
Taiwan is full of night markets. And day markets. But people mainly talk about the night markets. The best one I have visited is here, in Tainan. I had a good steak on a hot grill plate here.
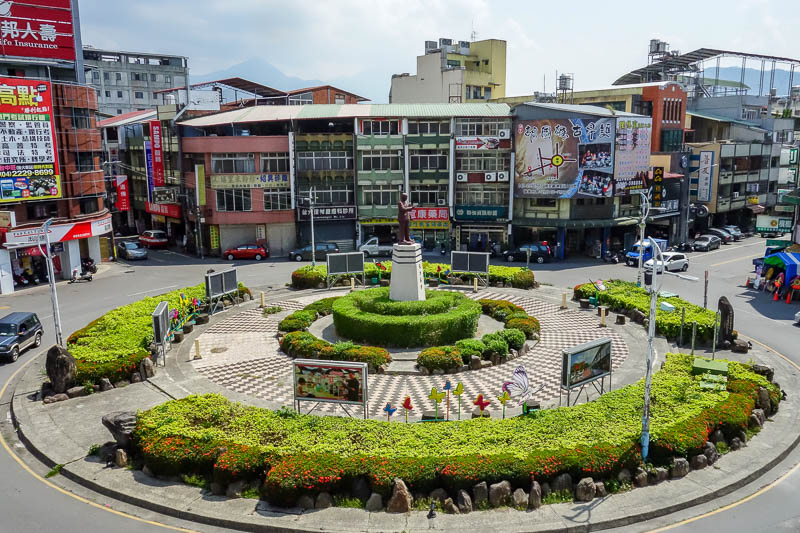
My last stop before returning to Taiwan was Puli. A tiny town that appears much larger than its population would suggest. I really liked it here. It is a popular spot to stay when visiting Sun Moon Lake which is nearby, as you shall see.
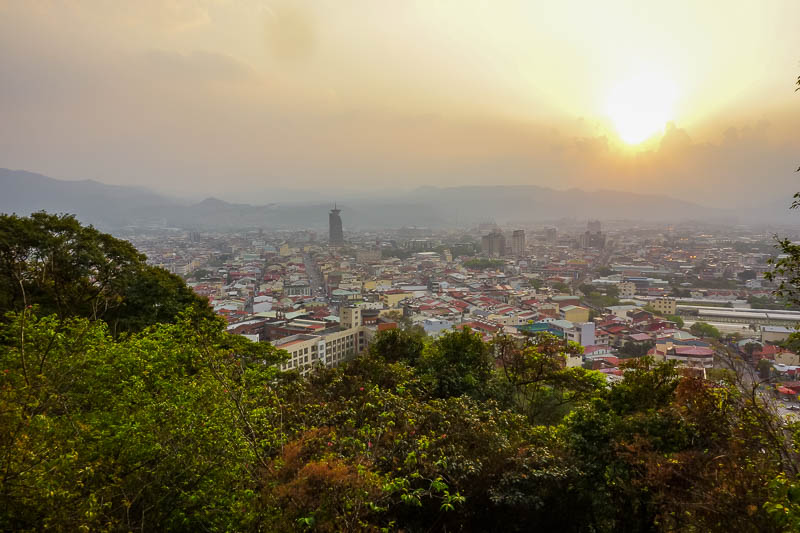
When I arrived in Puli I saw a great sunset and ran up the nearest hill at dusk to peer at the sun. People were hang gliding. It is a great place. They had a terrible earthquake a few years ago that killed a large percentage of the population!
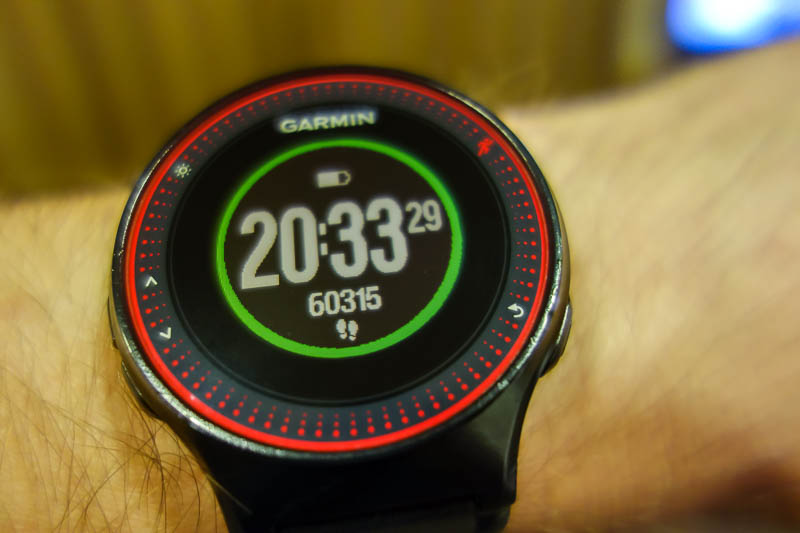
Puli holds the distinction of the city where I set my all time steps walked / ran in a day record. Thats about 50km. The following day I did another 50k steps running a lap of the lake in the rain.
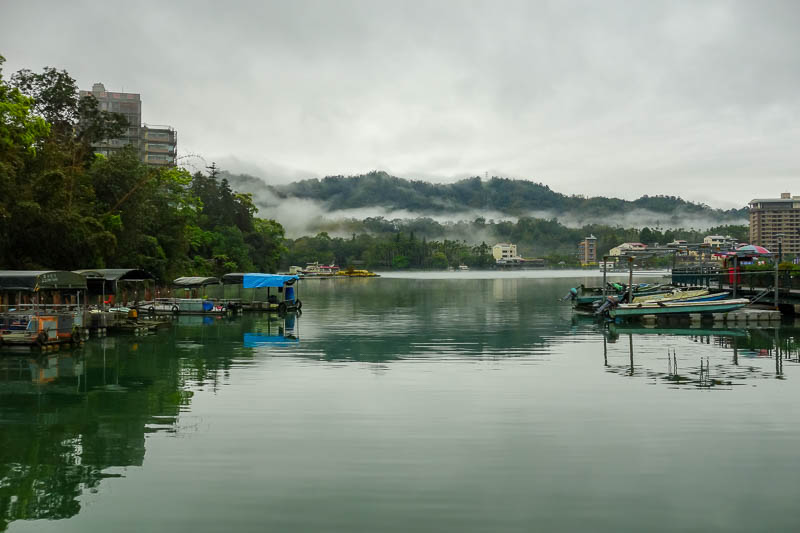
It rained all day, but damn it, I ran a full lap of the lake, SUN MOON LAKE, in the pouring rain. I got super saturated. It was great. Coming the day after a huge 50km hike up a mountain and back, it was a big effort.
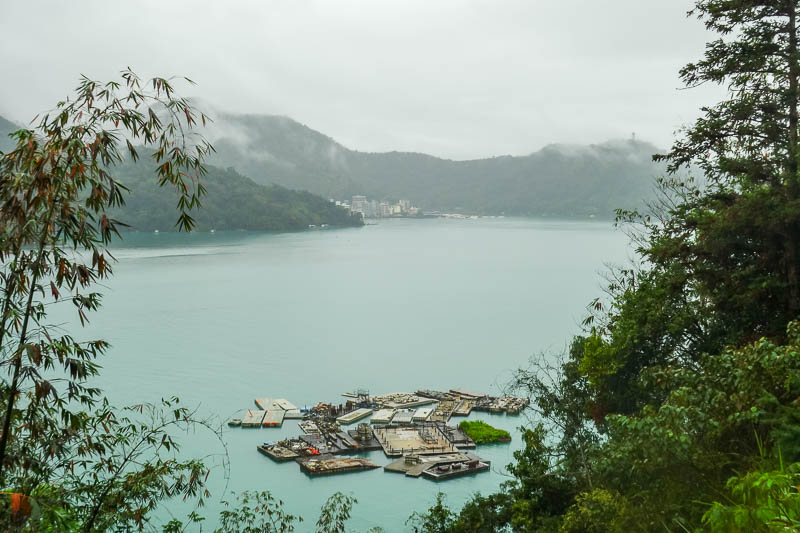
One last view near the end of my lap of the lake. I shall have to go again one day, when its not raining.
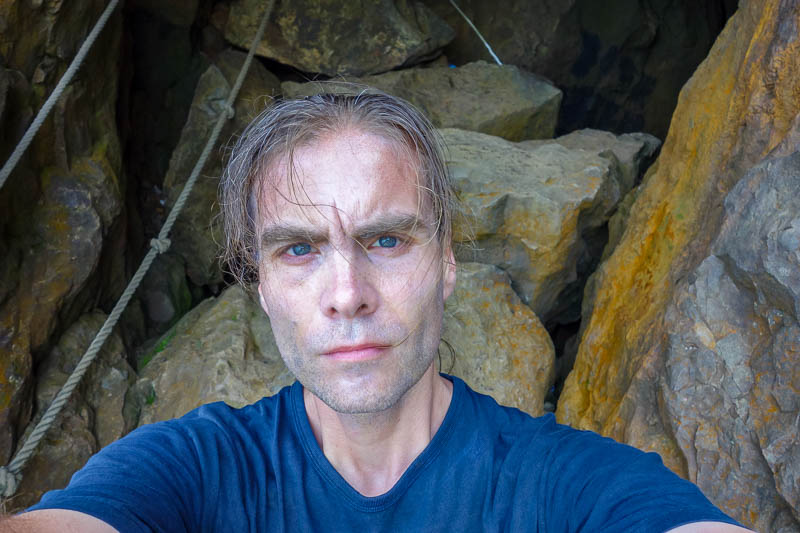
Here I am, in a cave, on teapot mountain near Jiufen, after being caught in a force 10 hurricane typhonic gale forced blast. I literally got sand blasted.
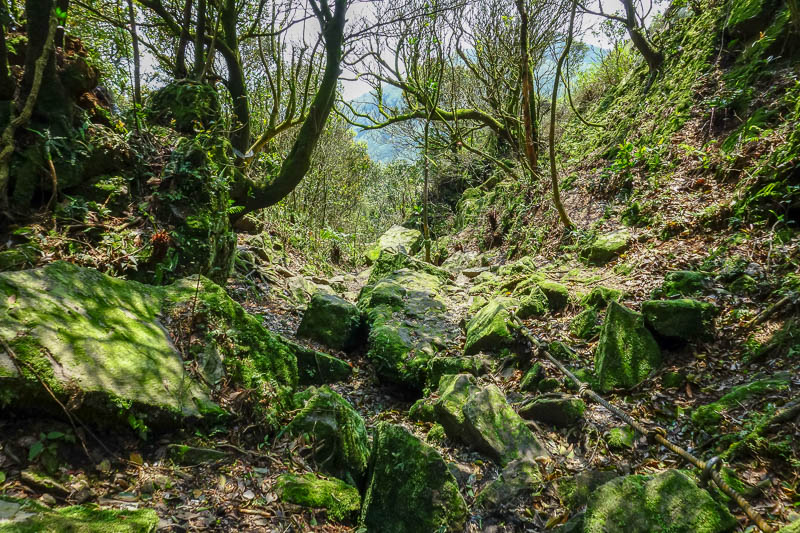
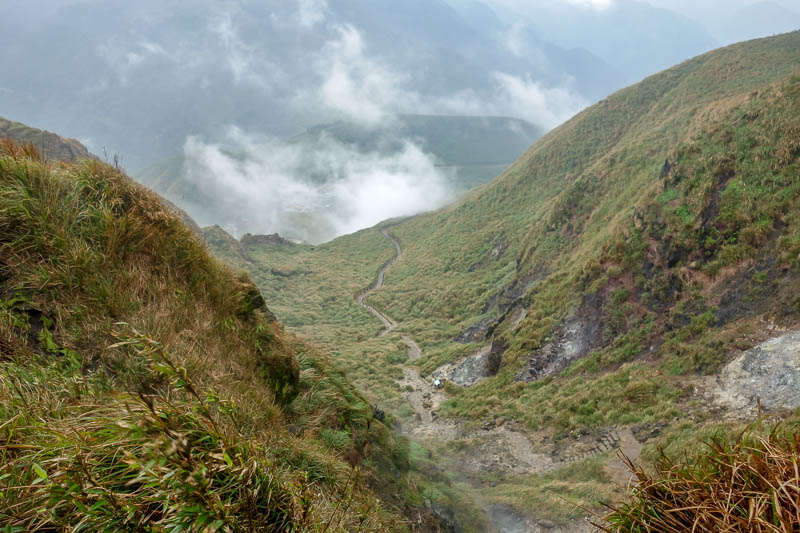
Near the top of Teapot mountain is this very strange very green surreal valley, shielded from the terrible wind.
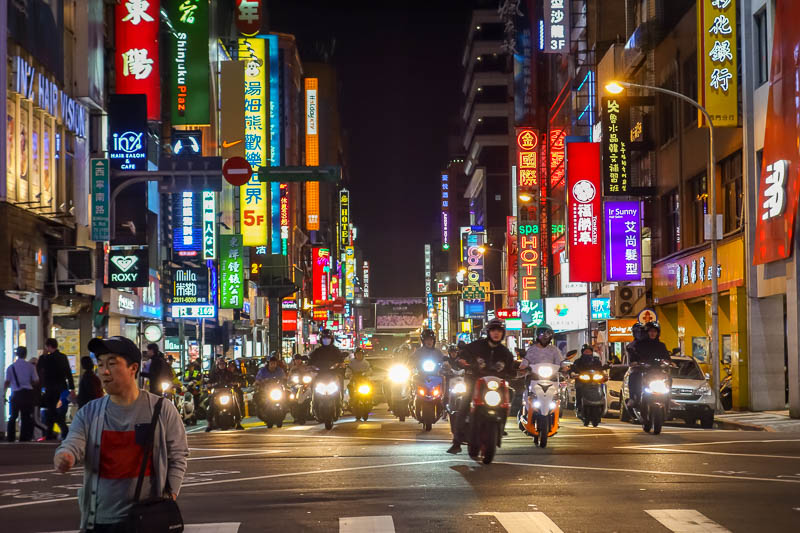
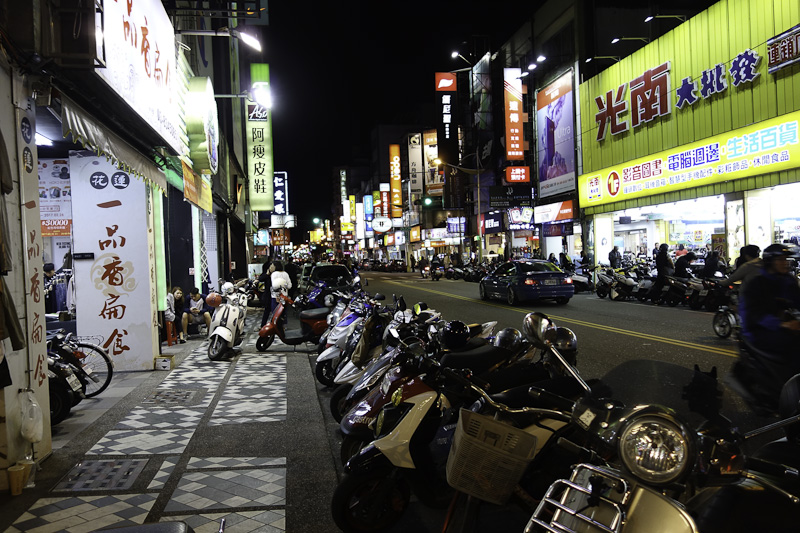
Another one of my favourite shots of this trip was this night pic of the scooters. Taiwan has billions of scooters (fact).
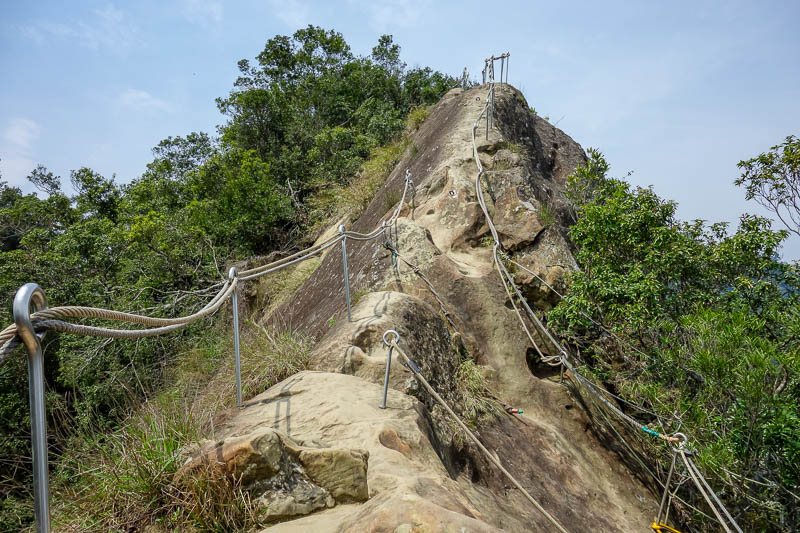
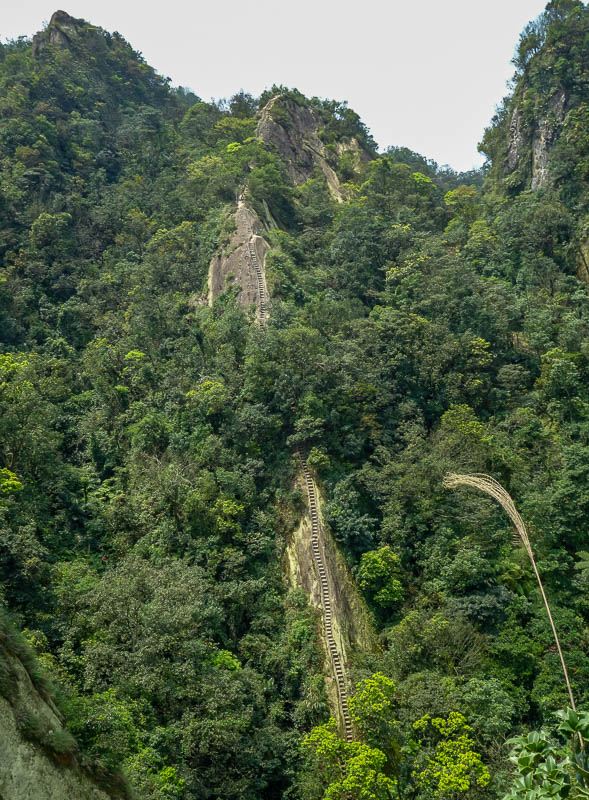
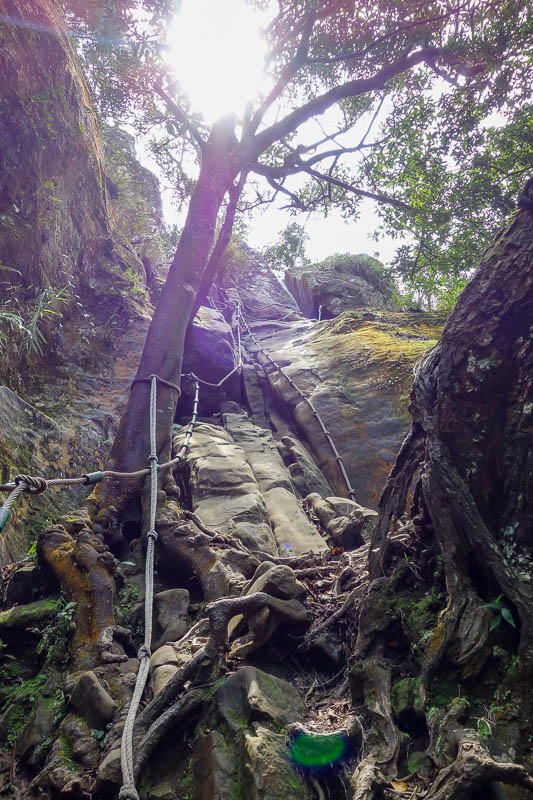
The last hike was to WuLiaoJian, and its often said to be the most dangerous hike in Taiwan. Yeah there are ropes and ladders (next pic) but its really not that bad. Hard to get to though.
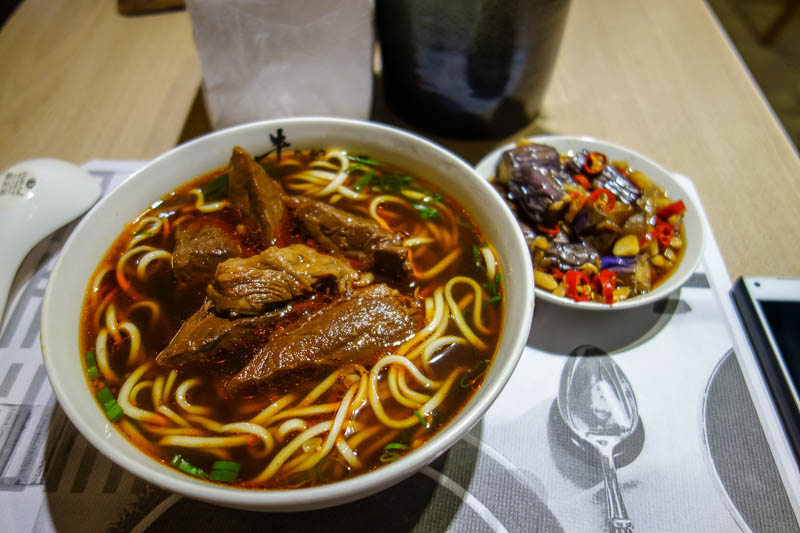
And finally, you cant go to Taiwan without enjoying beef noodle soup. I saved the best bowl of my trip until last, here it is. Actually second to last, I managed to sneak in another at the airport!
So that was my 4th trip to Taiwan, my first full lap of Taiwan, and my first fix your damn photos, make them high res, re edit and re export them exercise.
To read the full trip and its 1000 photos rather than the so called highlights shown on this page, CLICK HERE.
As threatened, here is my second retrospective of a previous trip FACILITATED by my need to re-edit, re-export and re-upload all my photos so that they are over-saturated, over-sharpened and over-nonsensical.
If you want to just go ahead and re-read that entire trip rather than read this re-cap prior to your re-read, CLICK HERE.
Now I will talk about some of the highlights (and lowlights) of my 2015 trip. It was either my 5th or 6th trip to Japan depending on how I choose to count.
On this trip I visited quite a few cities I had not been to before, in fact other than Tokyo, every place I went on this trip was new to me.
It was also probably the trip where I really stepped up the mountain hiking newly formed tradition, which is now the primary focus of nearly all my trips. I think the previous KOREA AGAIN trip also had a lot of hiking but JAPAN5 is where I first made it the actual purpose of the trip.
Before we get into it, this trip featured my trusty already old at this point Sony RX100 camera. I foolishly shot only jpeg so I could use the multi frame noise reduction feature at night. If you want to read more about my photography confusions, CLICK HERE.
I started the journey with a terrible terrible cold, that got much much worse during the flight to Japan via Brisbane. I was very very descriptive of all the symptoms and how I probably infected thousands of people. Frequent readers (who am I kidding?) will be screaming HYPOCRITE! by now, because I often go on a rant about how sick people annoy me. So I annoyed myself.
It took a few days to overcome my near death by manflu experience before the real holiday was able to commence. In the meantime, I found a really good crowded indoor activity where I was able to spread my germs to a few million unsuspecting locals.
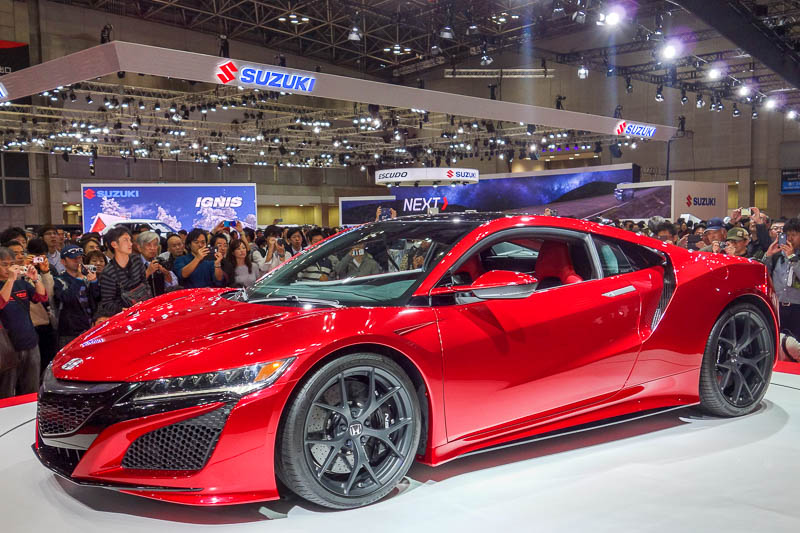
While suffering a cold, I went to the Tokyo Motor Show and looked at shiny things, and drank an alcohol free beer which tasted like my socks.
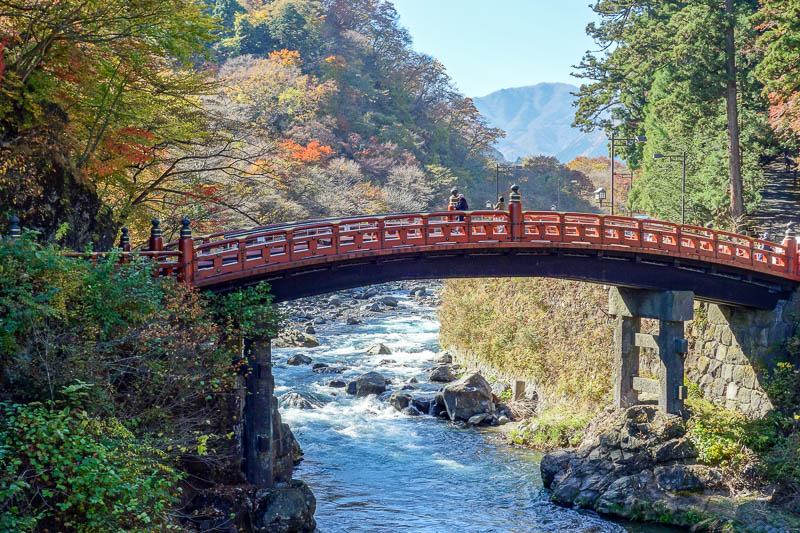
I then finally decided that I was well enough to go on a relaxing all day journey to the mostly closed tourist Mecca of Nikko. It was mostly closed when I was there, and they had a particular liking for the whole NO PHOTO! routine that people like to do. Still I managed to take a few good photos, sneeze on lots of people and spend a very long time on trains to get there and back in a day.
The whole no photo thing would be a feature of this trip, and subsequent trips to Japan. Its almost a challenge now, spot the NO PHOTO opportunity to take a photo. For the Nikko lovers, TOURIST SPOT PHOTOS APLENTY BE HERE.
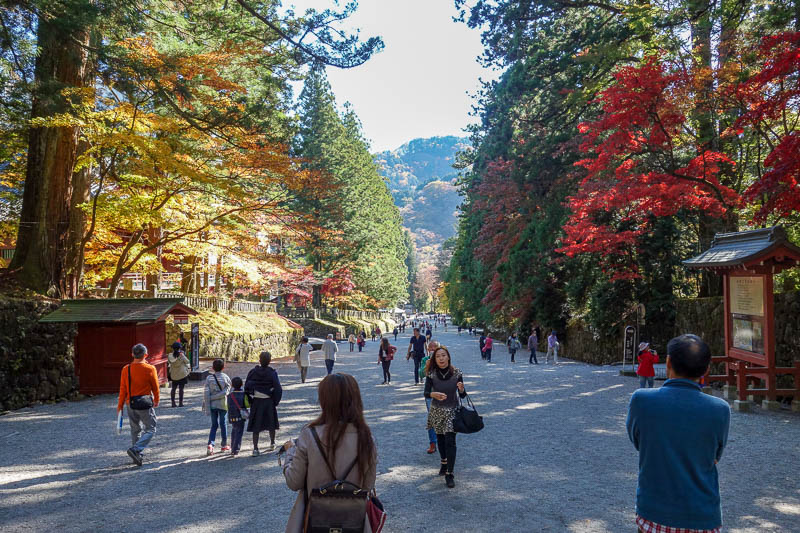
I was here for the peak color of the season. I now return to Japan at the same time every year to roll around in dying leaves.
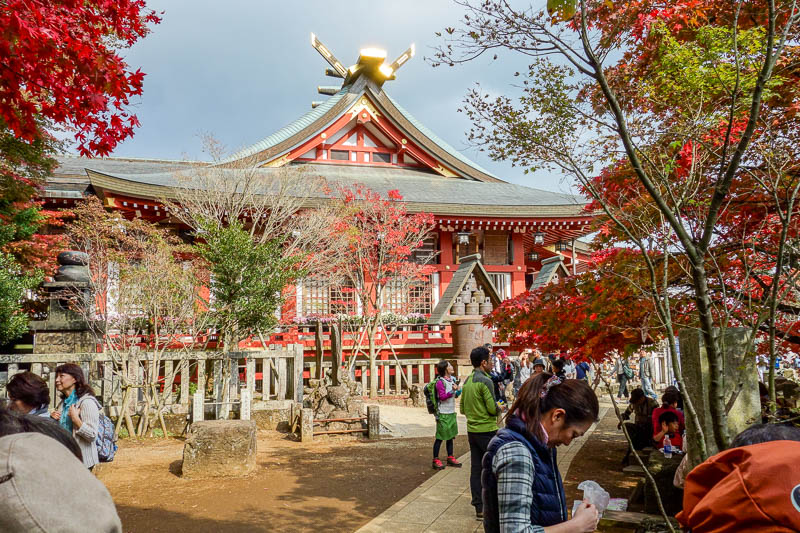
After a day wandering suburban shopping centres to see off the last of my terrible cold, it was finally time to climb a mountain. Mount Oyama was the target, it required a bus, it had a really nice temple and a cable car which I of course completely ignored.
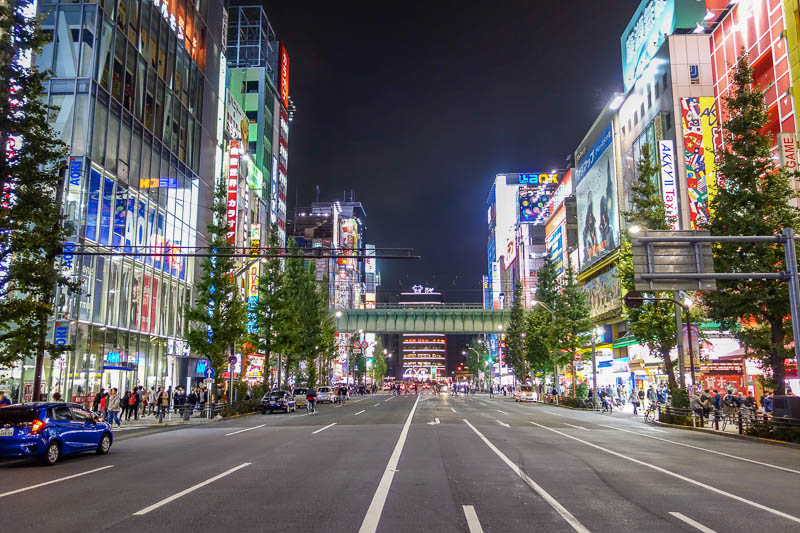
After my day in the mountains I went to Akihabara at night, I realise now while reviewing this, that I have taken the same photo in the same spot numerous times, at night. The next day it rained, a lot, so I ate a delicious tomato soup, did my washing and then headed to a new city, Nagoya.

My favourite tomato ramen. I think this was the first time I had it. It has chorizo and gorgonzola in it. A splendifirouos cornucopia of fat, salt and artificial coloring.
Who goes to Nagoya? Not many people. I went there, I liked it. It is not known for its hiking, but I found two really great mountains in the Suzuka range, probably my two favourite hikes of the entire trip. If I went to Nagoya again, I would happily do both of them again.
I did find it to be a little quiet at night, I think, the station is very busy and where I found most of my food, including a great thing which basically combines every kind of Japanese train station food speciality into one giant sloppy delicious mess.
The weather was good apart from my last day, and I also took a day trip, as you shall see to a monkey research facility and castle town surrounded by fighter jets.
If you would rather just read about Nagoya in detail, HERE IS A LINK.
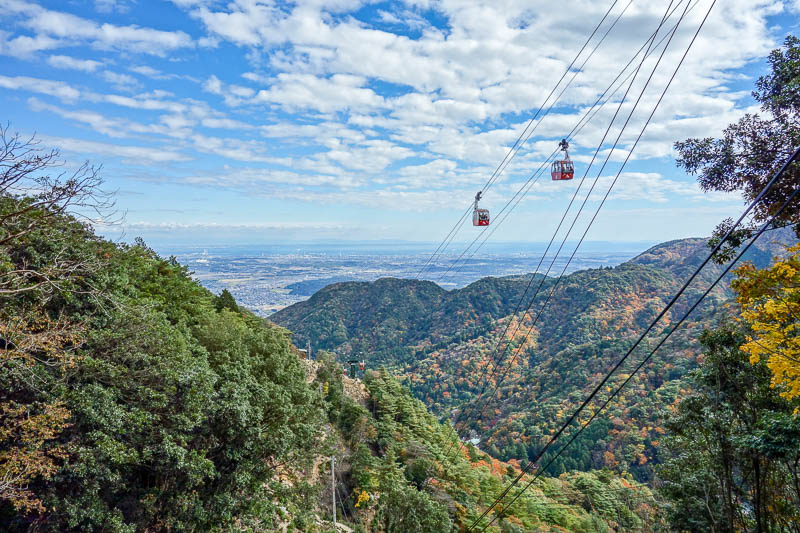
Here is a shot from half way up magnificent Mount Gozaisho. It was colorful, exciting and very very windy as you shall see. I took a lot of great photos on this day, and as ever, did not take the ropeway. When I got to the summit the ropeway was not running due to high winds, and thousands of people were crammed into the summit restaurant wondering how they would get down again. I walked.
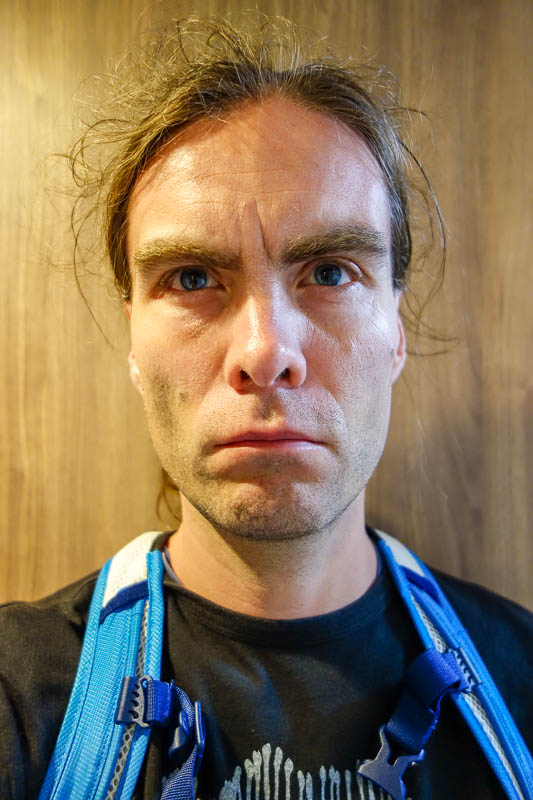
Here I am, looking very windblown and old. In great news, I now look older than this photo, all the time, even after my daily moisturizing ritual and sheep placenta treatments.
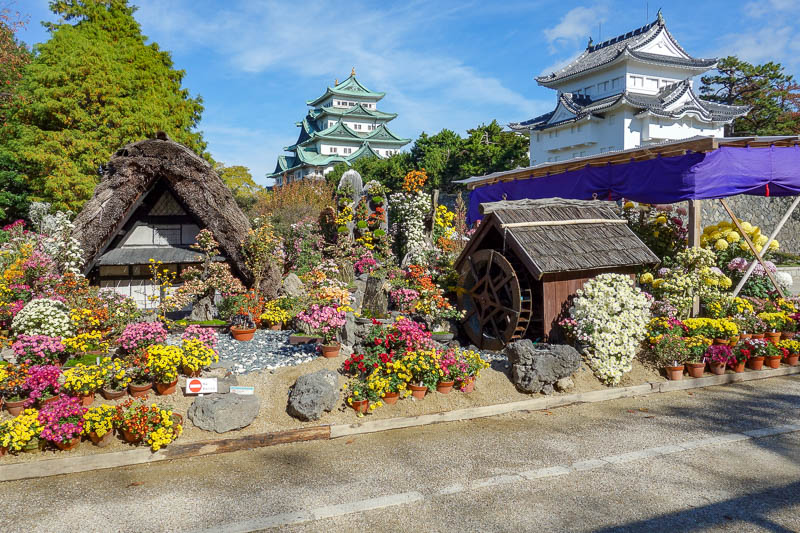
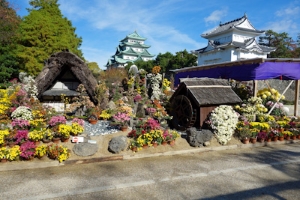
Nagoya has a great fake castle. Another day with excellent very overly colorful fake looking photos. The flower show in the castle grounds was excellent. I love flowers.
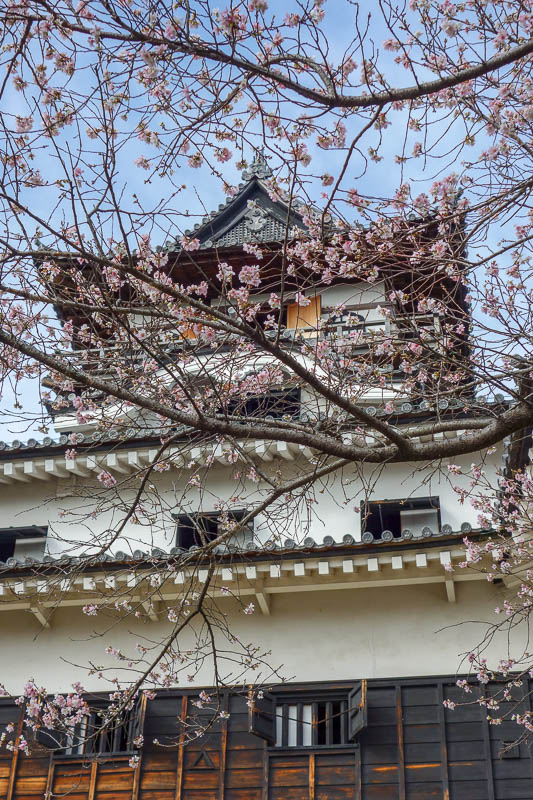
Next up in the region of Nagoya was a day trip to Inuyama, near Gifu. I actually spent a few days in Gifu on a more recent trip to Japan. Inuyama is a castle town with an actual real castle that was not destroyed in any kind of natural or man made disaster. It also has a theme park where they breed monkeys for medical experiments and an air force base. What a winning combination!
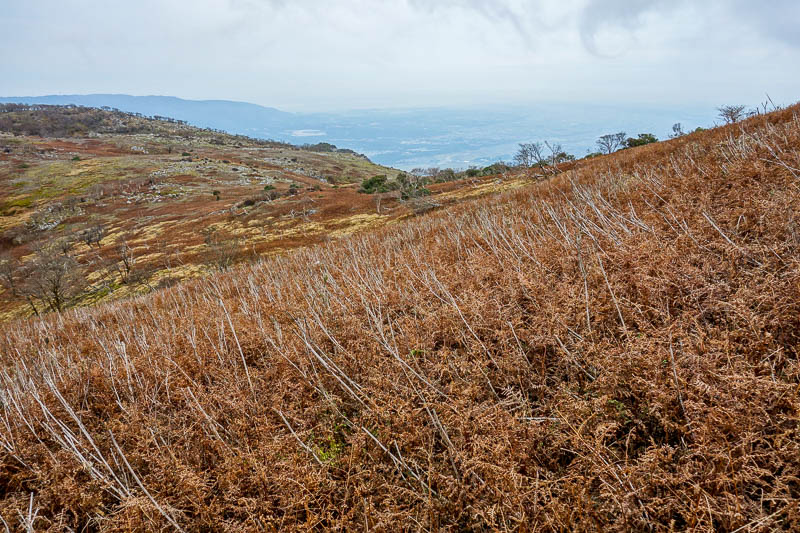
My second great mountain in the Nagoya region was FUJIYAMA, no not that Fujiyama, but another Fujiyama. This one is located on the very quiet Sangi line. I had the entire train to myself, my vivid memory is of the driver getting off every few stops to do 'heads and shoulders knees and toes' to keep himself awake.. The mountain was quiet too, but also fascinating, after a steep climb it arrived at a bald plateau with strange colored plants, and a prominent public toilet?
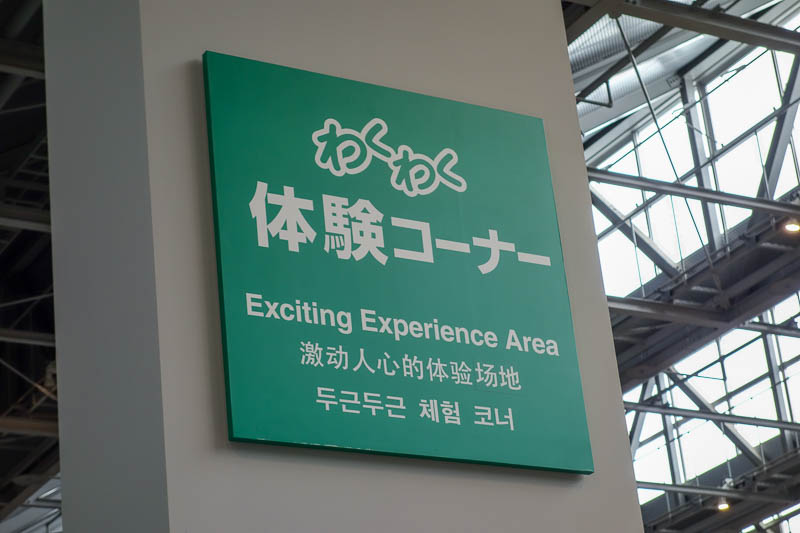
My final day in Nagoya was rainy, so I went to the Toyota museum and looked at loots of looms and cars. An exciting experience for sure!
Hiroshima was my next 'new to me' city on this trip. I did the tourist things. Well that and then some other stuff too. I think many people on a standard week long Japan itinerary got to Hiroshima for a day, go to Miyajima for a day, then flee back to Kyoto after they have seen bombs and the island full of deer with a floating toriiiiiiiiii gate. I did those things and splashed in some puddles while doing it, but also managed to go to Iwakuni in the pouring rain to injure myself climbing up a hill to a castle, and best of all I found a great 'mountain' with an excellent view of the bay of islands near Kure.
I liked Hiroshima, the shopping areas were nice and interesting, although quite far from the main station. You can ride a tram that survived the bomb blast between the city proper and the Shinkansen station if you wish, make sure you lick everything on it for the authentic gamma-ray experience.
Of course, I also went to the smokers paradise Okonomiyaki temple restaurant fire trap, which is lots of floors of identical places showing baseball on the tv while people smoke and burn themselves trying to eat their Okonomiyaki.
Because I am considerate, here is a DIRECT LINK to the part of the trip where I was in Hiroshima. It opens in a new window to chew up a bit more bandwidth.
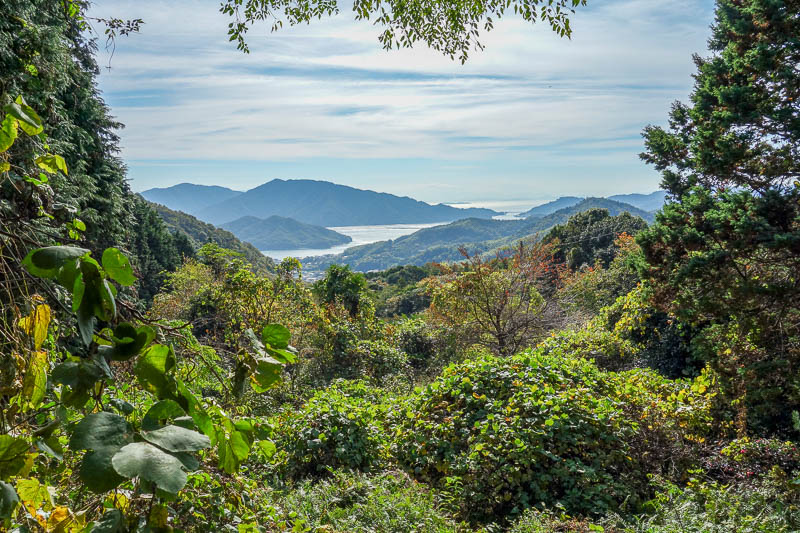
Here is a view of Hiroshima bay from Mount Noro which is accessed via Aki-Kawajiri station near Kure. This wasnt a tough climb but I made it very long by walking back down a high quality abandoned twisting road. The view was amazing the whole way.
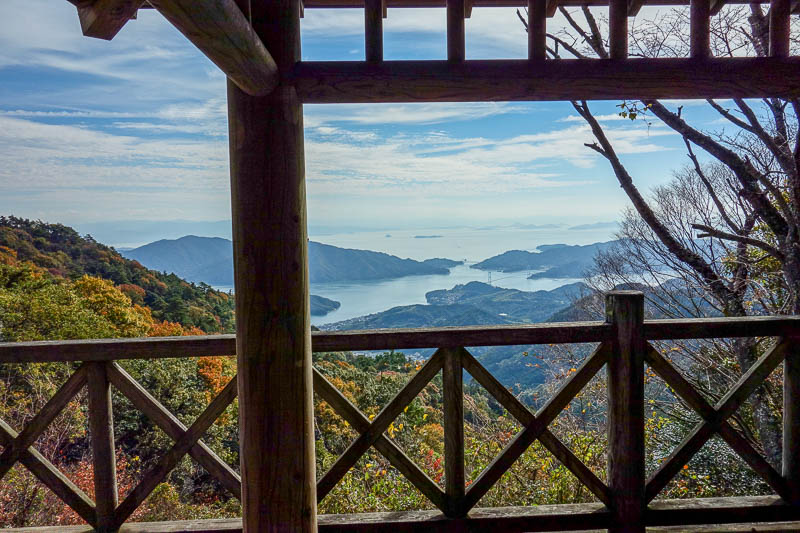
Here is a little more of the view from near the top of Mount Noro. You can cycle over all those islands which are all connected via a series of bridges. The weather was superb. I am old and talk about the weather. Superb weather would not last.
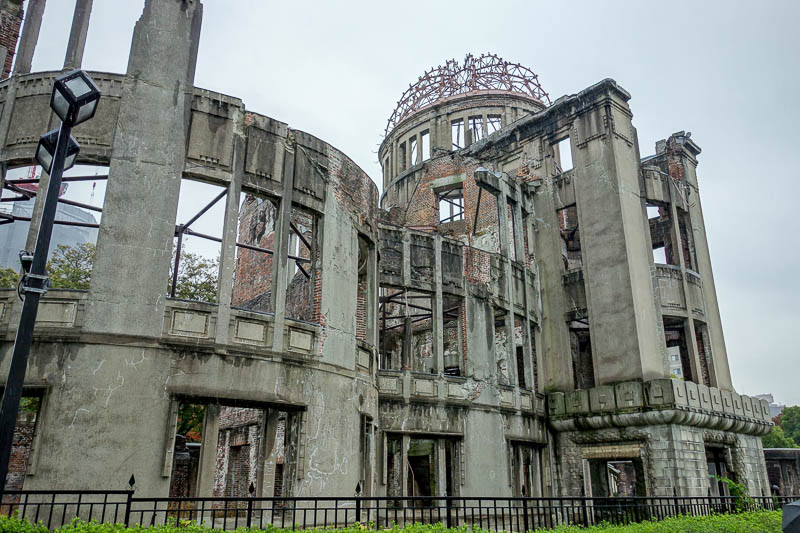
I visited all the a-bomb historical monuments on a very rainy day and got saturated. Yet not as saturated as I would get the next day. I was actually a little disappointed with the memorial museum, but I note that it is now being re-modelled. It felt very dated, and not as impressive as the Nagasaki one which I visited recently in 2018.
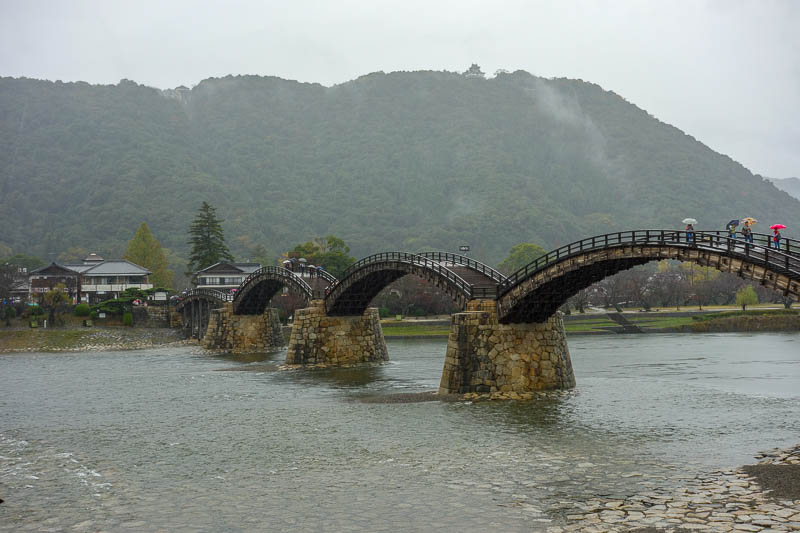
Here is the famous Iwakuni bridge. I got very very wet walking here from the station which is a few km away. I dont know why I was stubborn and insisted on walking.
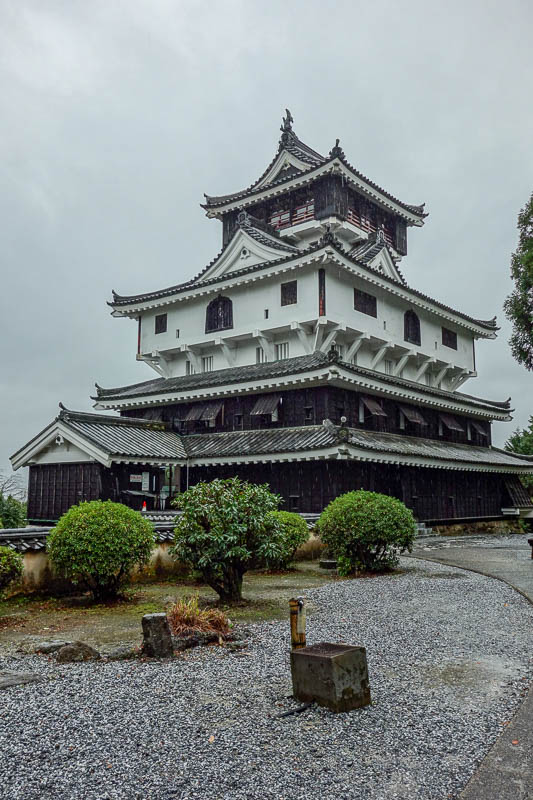
And here is the castle. The cable car was not running, so I had the whole place to myself. But there was an issue, I slipped over walking up a wooden ramp and smashed my knee on something. I remember being in great pain and having an actual bruise (I dont bruise). Walk it off.
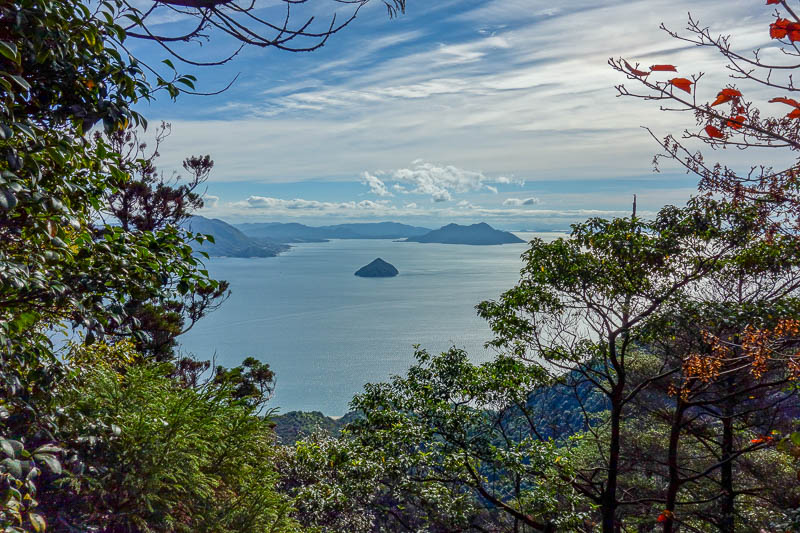
More of the view of the wonderful bay. There was one deer up here with antlers, on the summit stone. Clearly he was the head deer. There was also an impressive new public toilet facility carved out of rare timbers.
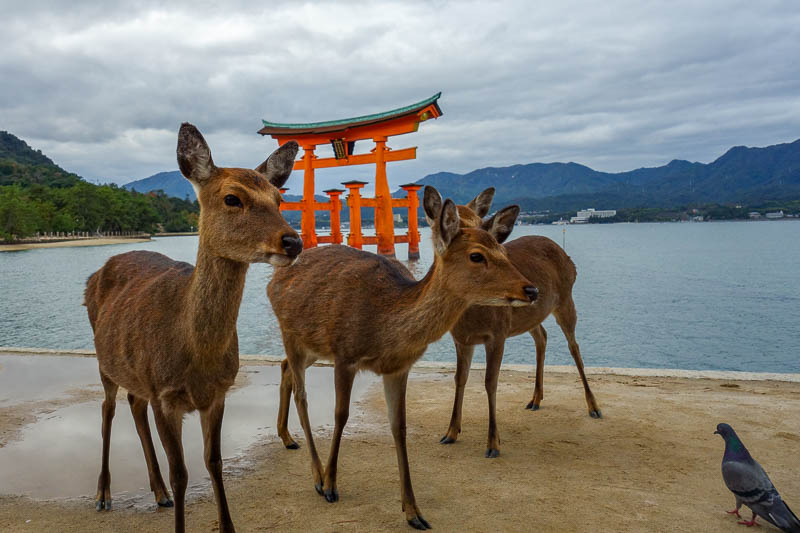
And for the tourists, heres the floating torii gate thing. I was more impressed that this pigeon was successfully fighting off all the deer.
The mystery destination on this trip was Shimonoseki. It is right on the bottom tip of Honshu. I had to find a spot that was not Fukuoka to stop for a couple of nights as there was no accommodation in Fukuoka due to the sumo. It was a quiet sleepy fishing town, where everything shuts early, but the geography was very interesting. Both sides of the strait between the islands had mountains to enjoy the view of oil tankers going by, and then there was the tunnel. I walked under the ocean, twice. On the far side of the under ocean tunnel was a nazi hangout where Einstein used to come to pontificate. The signage focused more on the Einstein and less on the nazi's. To top it all off, after walking for what seemed forever, I found an old Samurai town at Chofu.
I remember being concerned when I was forced into booking accommodation in a previously unheard of town that there would be nothing for me to do. I was wrong.
To read about the sleepy town of Shimonoseki directly rather than viewing the highlights reel below, CLICK THIS BOLD ALL CAPS TEXT.
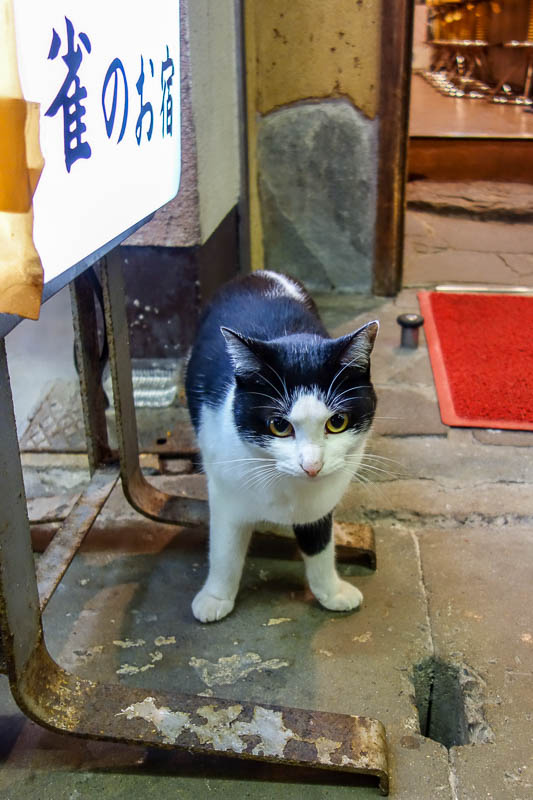
This is probably the best cat photo of this entire trip, so here it is! I take more cat photos lately.
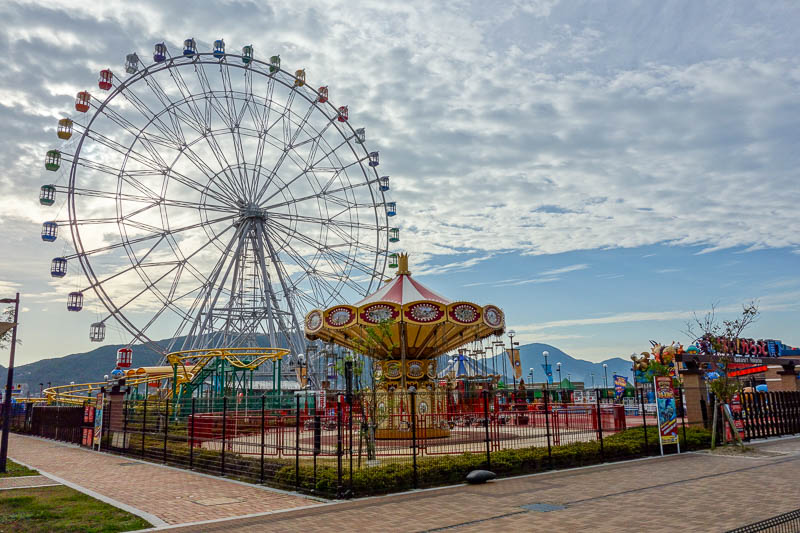
Early one morning on the start of my epic adventure under the sea I walked past an amusement park in an excellent twilight.
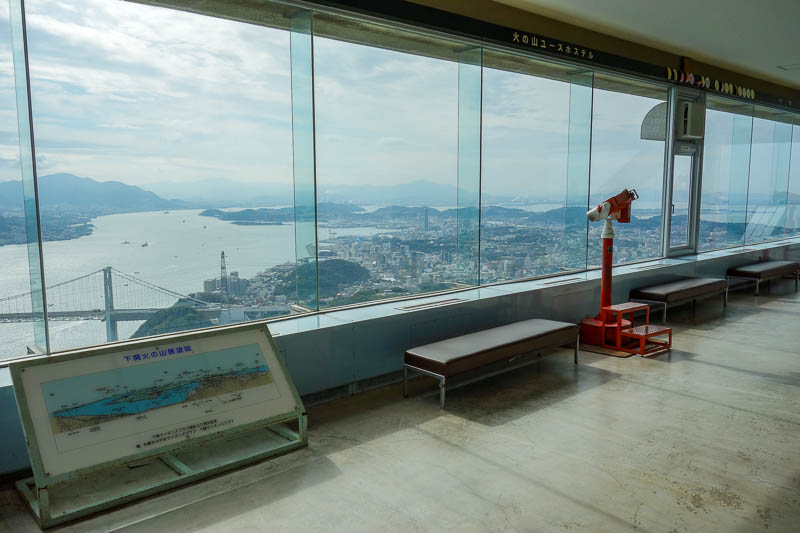
One of the best night views of Japan according to an official list. I think its second to Hakodate, which I did actually experience at night. The island of Kyushu is to the left, joined on by a tunnel.
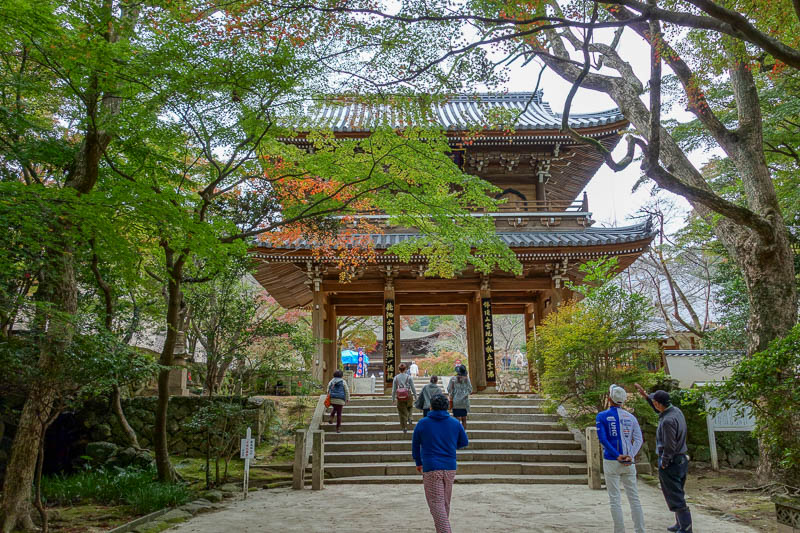
Here is one of the many shrines in the old Samurai town of Chofu. The name is confusing, because lots of places are called Chofu, but I think its because the Chofu clan retreated to here.
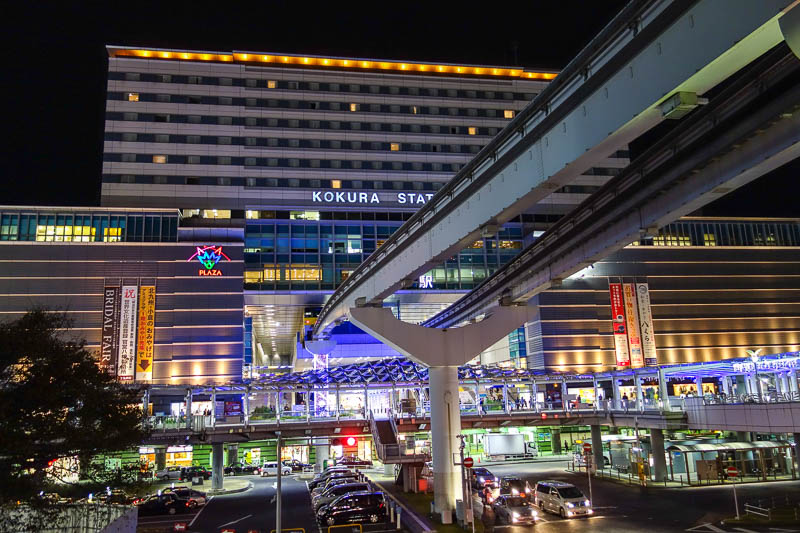
On my last night, I took the slow train over the strait to Kyushu for a look at Kokura in Kita-Kyushu. Thats a lot of K's. I found Kita-Kyushu to be a much more vibrant city than Shimonoseki, I would return to Kita-Kyushu in 2018 to climb the excellent mountain overlooking the city.
My final destination on this trip was the southern city of Fukuoka on the island of Kyushu. A city I very much enjoyed. It is a large city with 2 very busy city centres. I am probably mentally confusing two visits while typing this right now as I recently went to Fukuoka again in November 2018. The highlight was definitely Dazaifu and the nearby Mount Homan, I enjoyed that so much I went again recently and continued onto the mountain behind it.
The other highlights were the ramen. There was an outdoor ramen festival and the top floor of one of the huge malls is known as ramen stadium. Most of the famous ramen shops in Australia proclaim they started somewhere in Fukuoka. I will do some more explaining with the pics in the highlight reel below, or if you prefer a lot more pics of the sites of Fukuoka, HERE IS YOUR THING.
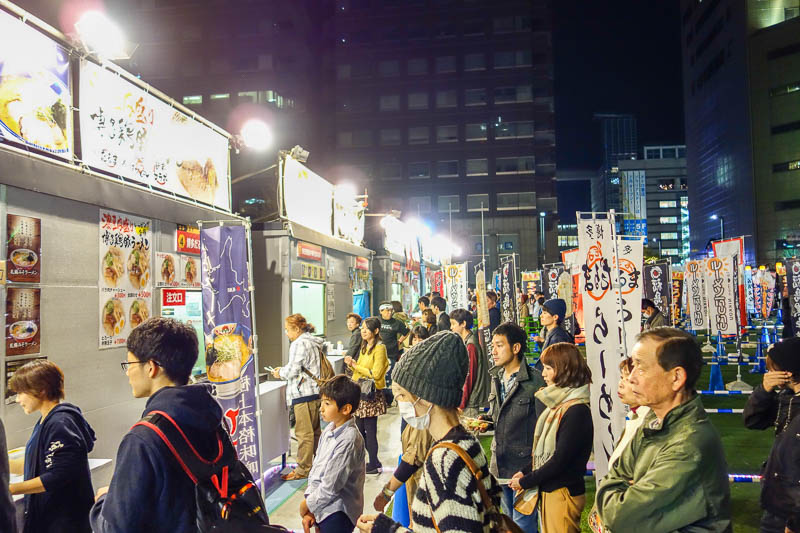
Here is the outdoor ramen festival. I think this was the last night. This one seemed more popular with the locals compared to the ramen stadium in the mall which was more popular with tourists. Eating ramen standing up without a spoon is quite the challenge.
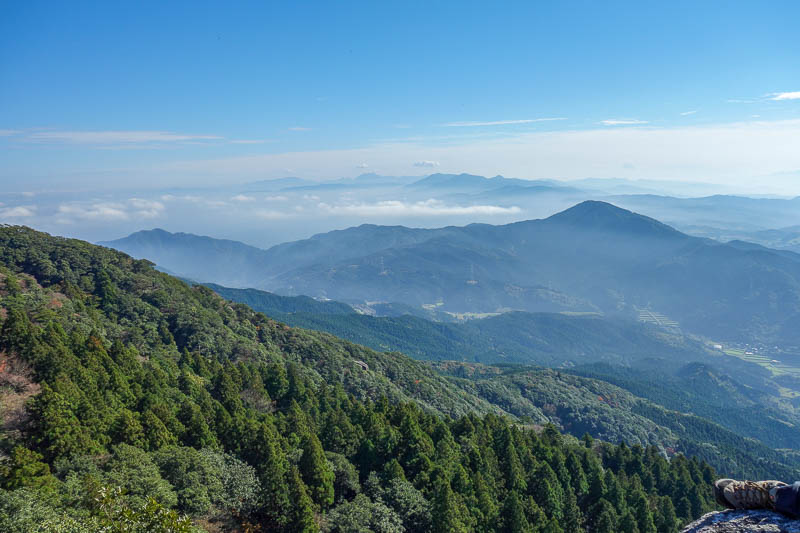
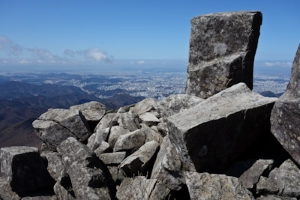
The view from Mount Homan. This was my last hike of this holiday, and a great one. Actually it was probably only the third best hike of this trip but since they were all good, it was still good.
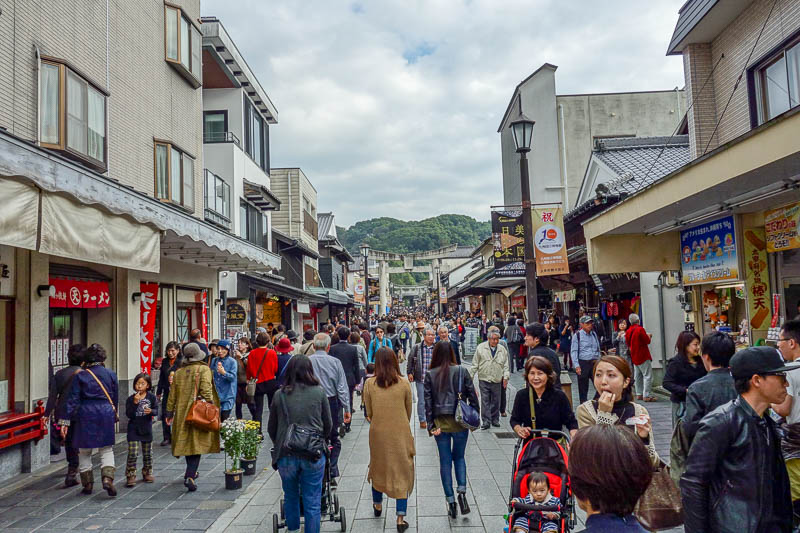
The shopping street leading to Dazaifu is very popular and picturesque. I ate some local treats here, had regrets.
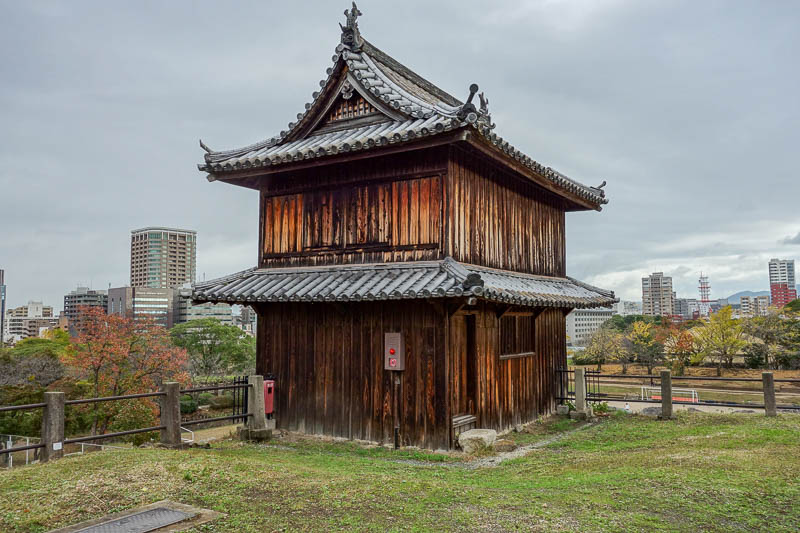
Fukuoka has no castle. It has castle ruins. No one goes to look at them. I did. It made for this nice desaturated photo of a wooden gardening shed.
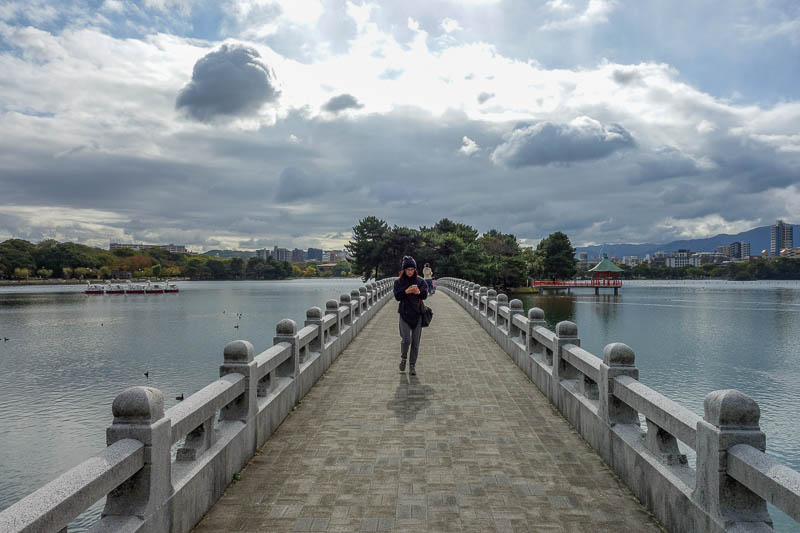
On a rest day, I went for an epic walk in a random direction and found this lake. It is a re-creation of the West Lake of Hangzhou in China, somewhere so awesome I have been there twice. The mini version in Fukuoka was also quite good to walk around, and I think this is a good photo in great light.
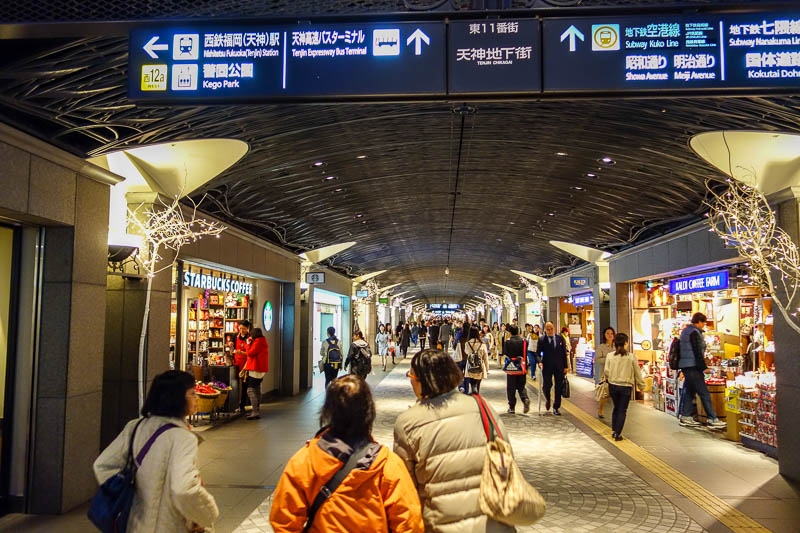
One thing I definitely remember from Fukuoka is the tunnels linking the subway stations that go for miles. My hotel was at the very end of one of these. You never have to go outside if you dont want to.
So thats the end of that, another retrospective exercise completed. It took a long time! I hope I have done this in a format so that when I inevitably need to change my website again in 10 years time to cater for whatever replaces the current technology then that it is a lot easier and less time consuming!
....I still have about 15 more of these retrospective things to do!
The Korkong trip is finished. CLICK HERE to go straight to the extra long full trip report!
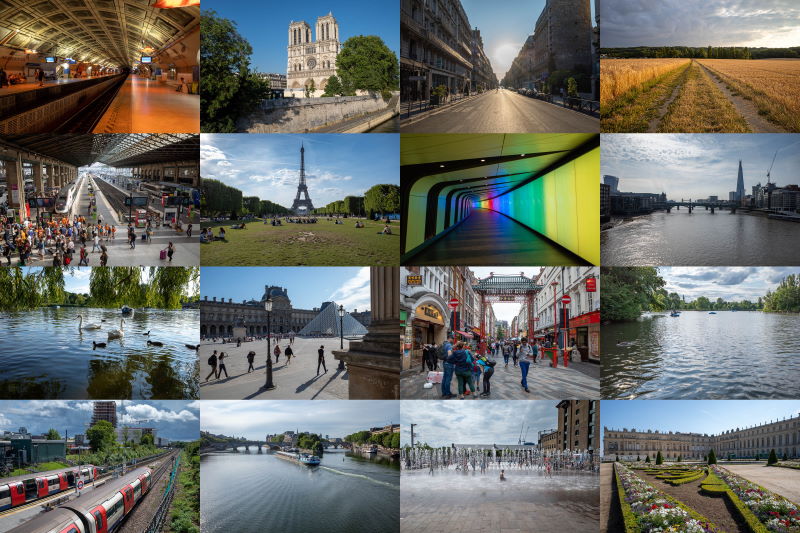
Work is sending me to Europe for 2 and a bit weeks from 5 July. Since I have a new camera I will probably do my usual format of long boring arduous trip report. Do not expect the same amount of boring photos or the same number of ridiculous updates, my work schedule is hectic.
The FRANGLAND trip is now complete. CLICK HERE to go straight to the full trip report. My next big trip is to Japan again in Late October.
My 9th trip to Japan is now completed. CLICK HERE to go read it all from the start.
UPDATE: CANCELLED, Corona Virus. Similar to last year but slightly different, from early April I will be spending 4 weeks split evenly between Korea and Taiwan. Yes I have been to both places many times before, but I like it there. There are many mountains to climb.
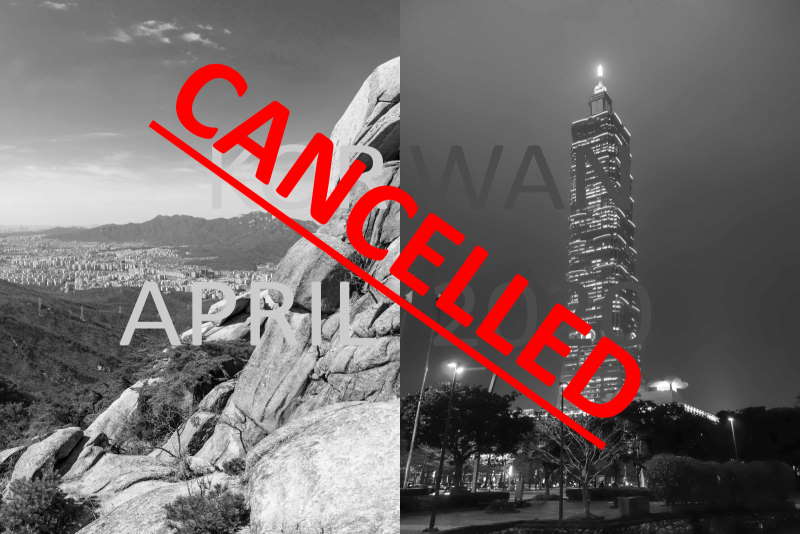
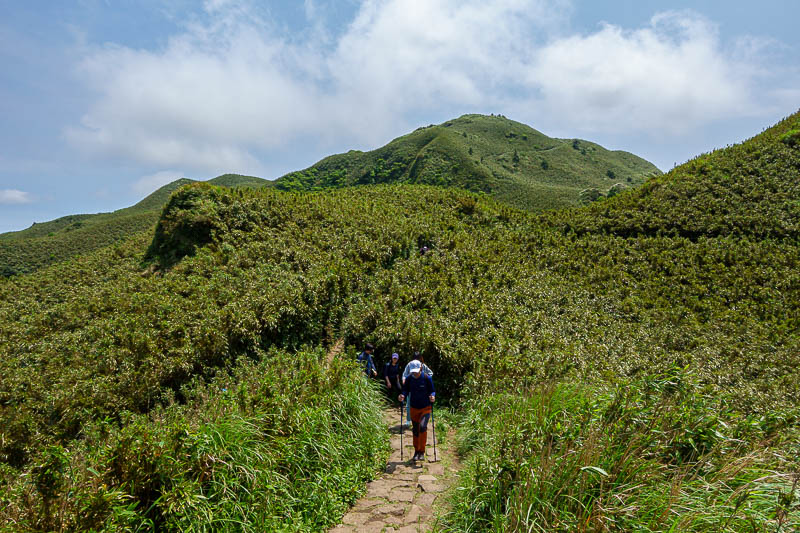
I am putting less and less effort into these little pics for the news page. As the trip is half Korea and half Taiwan, so is the pic.
There are currently 2 comments - click to add
David on 2020-03-29 said:
yeah, been cancelled for a while, just updated the graphic etc.
David on 2020-02-29 said:
probably cancelled, corona virus
UPDATE: ALSO CANCELLED, Corona Virus. Oh so very predictable. I have now booked my trip for November 2020, back to Japan for the 10th time. The current Itinerary (subject to change) includes Tokyo as ever, Hiroshima, Matsuyama on Shikoku (I have not been to that island before), Beppu/Oita and KitaKyushu on Kyushu, Kyoto (yet again) and back to Tokyo. So some new places, some old.
I have booked refundable accommodation so if something more interesting comes to my attention it is possible I may yet change the entire trip.
There are currently 3 comments - click to add
David on 2020-02-22 said:
still test
David on 2020-02-22 said:
what
David on 2020-02-22 said:
just testing
So... COVID is still going full swing in most places around the world. Australia is much better off than nearly anywhere, travel within Australia is ok with a few exceptions.
Because of COVID I have not done any international travel for over a year now, as you can see from the above I have had to cancel at least 2 trips, plus I should be leaving on one right about now, plus there was probably a cancelled work trip.
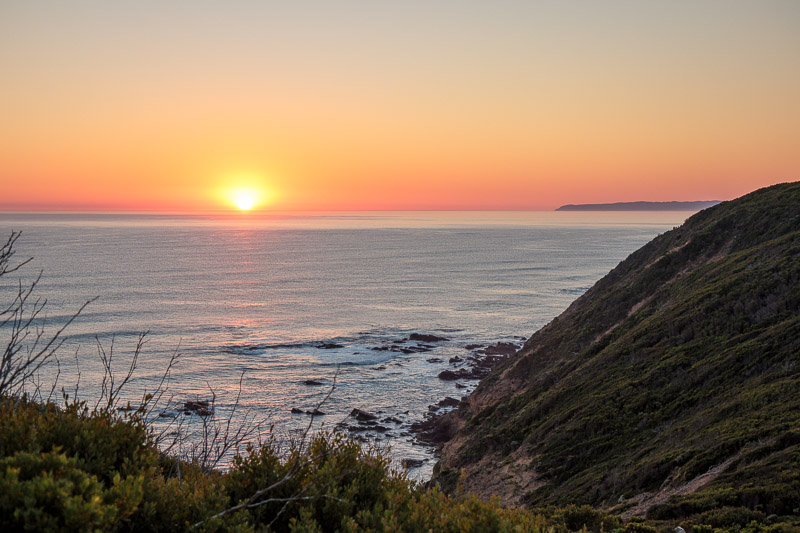
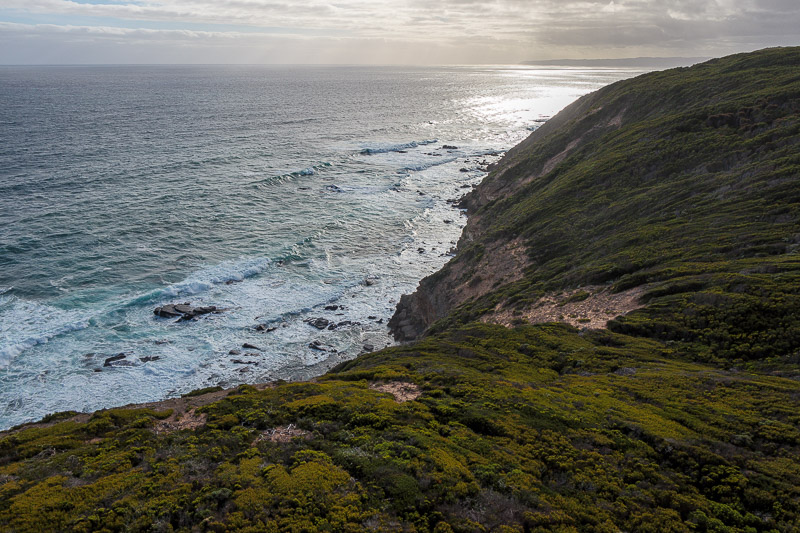
Therefore to ensure I can still work my own heavily customised website, I am going to treat a short 3 day trip to a place on the great ocean road called Cape Otway as if it were a proper trip. Also that might make search engines happy that this website is not dead.
On that note, I have a new camera, if you go to the miscellaneous part of this website linked at the top of the page, you can see photos taken with it.
Also I changed the way links are displayed across this whole site so they appear in a more friendly format.
Finally, the Cape Otway trip will be a placeholder for now, until some time on Friday - internet connectivity permitting, apparently its limited there!
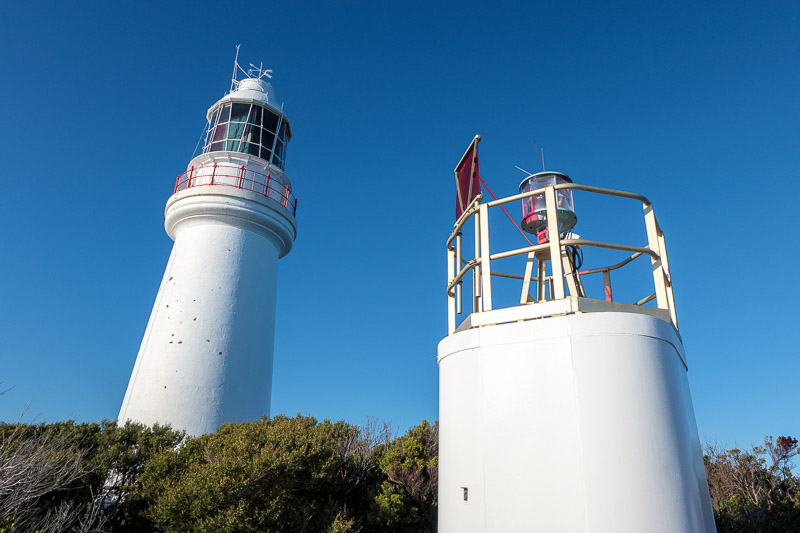
Cape Otway has a lighthouse. This is a lighthouse. It is not the lighthouse at Cape Otway. It is a photo of a lighthouse taken on my phone on the Beecroft Peninsula a couple of years ago. Update: I changed the pic to a photo of the lighthouse at Cape Otway. That sure was confusing.
There are currently 1 comments - click to add
David on 2021-04-07 said:
test
I am now at Cape Otway looking at a lighthouse. CLICK HERE to go to the latest update.
My short trip to Cape Otway is over. CLICK HERE to read it from the start.
OK, years ago this site had a really short name. Someone bought it off me for too much money to decline. Then I chose another name, which existed until last week. Soon after buying that domain, it became a major virus on android. I thought that might send traffic my way, but it did not. In fact I suspect it got my site blocked by some internet service providers. I still own the domain and it is currently redirecting to here.
So now, name number 3, lostorwhat.com
It is probably better than the last name, getting a dot com with any real words in it is very hard.
In addition to a new name, I have also messed about with mod rewrite to make friendlier links. No more ?something=&whatever=4543534. Hopefully that will make google happy.
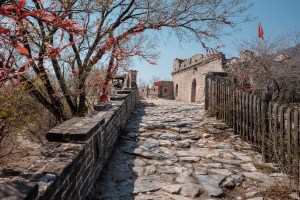
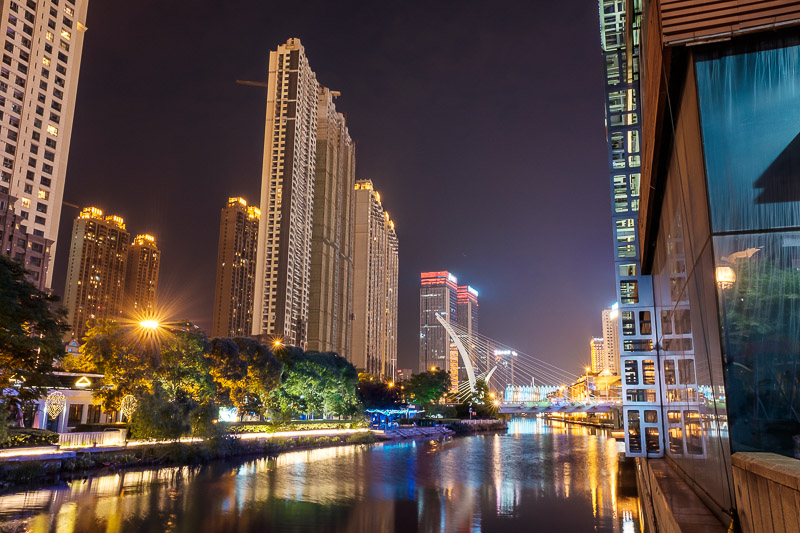
Unfortunately I still cant leave the country to travel due to covid, so instead, here is a photo from a previous trip, taken in Wuhan.
I have not been to an airport in 2 years after previously going every week. Finally places are opening. I have jumped on the change to go to South Korea, hopefully it is not cancelled. All going well I will be there 18 May to 16 June.
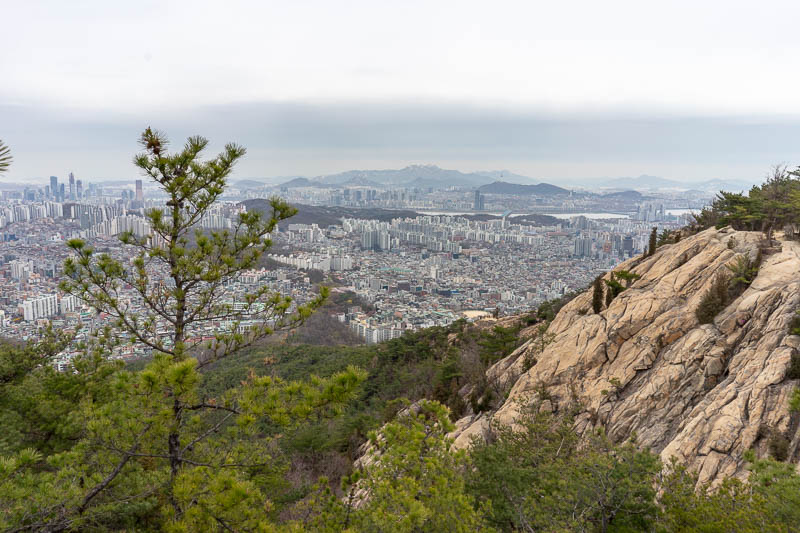
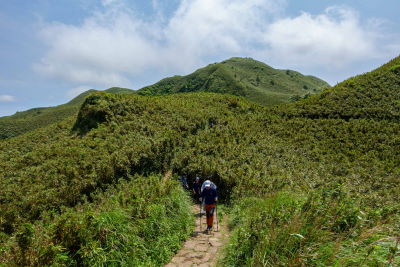
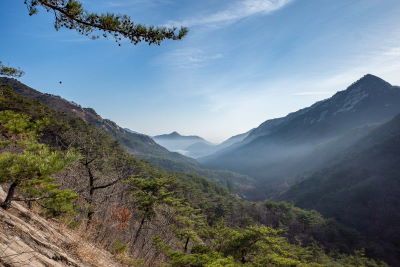
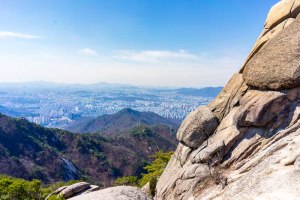
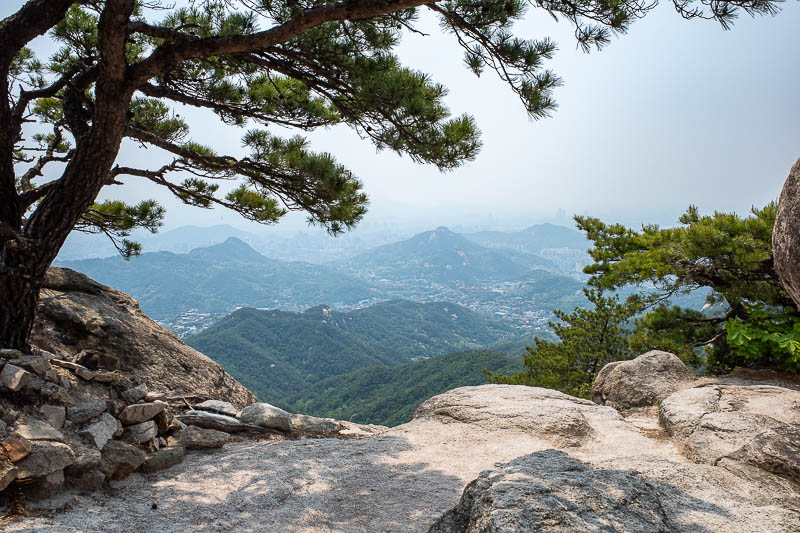
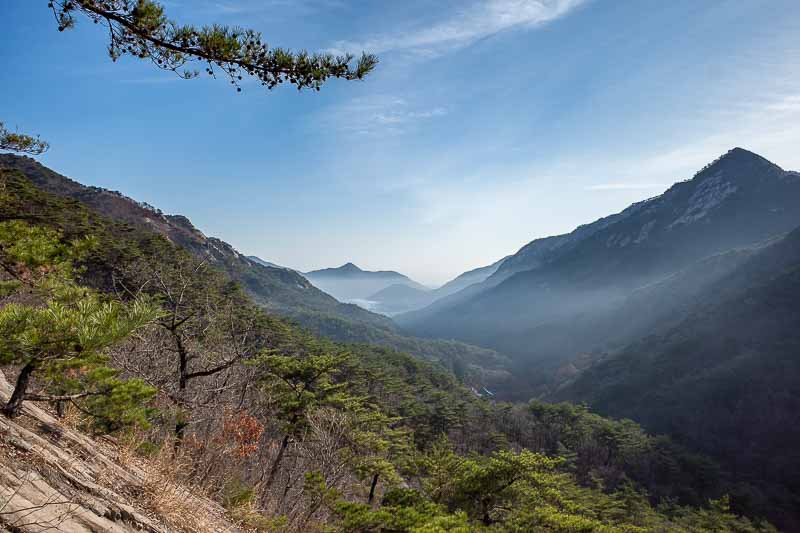
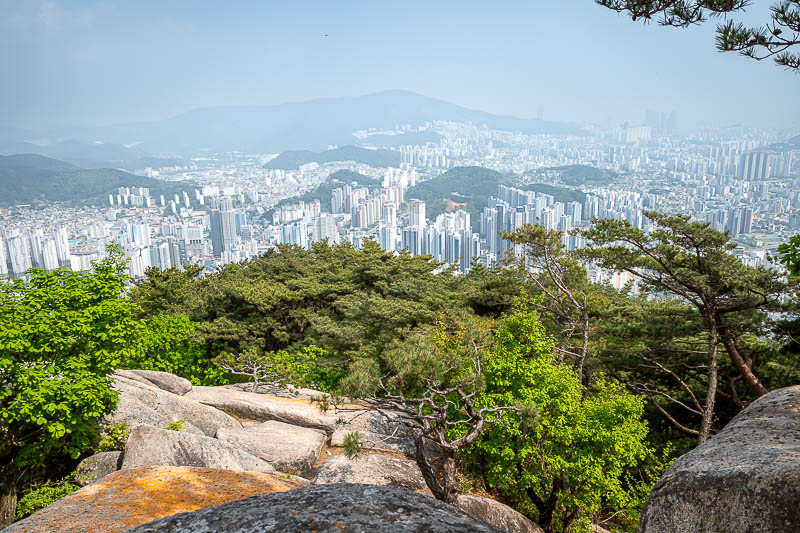
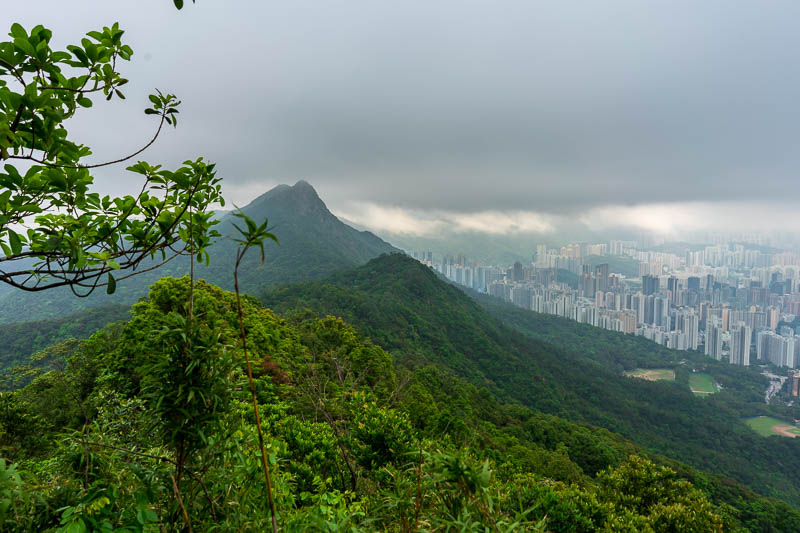
Here is a random photo I took from a random Korean mountain. Hopefully there will be many more soon!
1st COVID era trip is now complete. CLICK HERE to read the whole thing from the start!
It seems I have unfinished business in Korea. From 3 November I shall return for more hiking and gawking at stuff. This is mainly because it is the only place I can go that will almost definitely be open. I cancelled my planned return to Japan trip and pivoted back to South Korea a few weeks ago, and of course Japan is now talking about properly re-opening, however they left it too late for me, so back to South Korea it shall be!
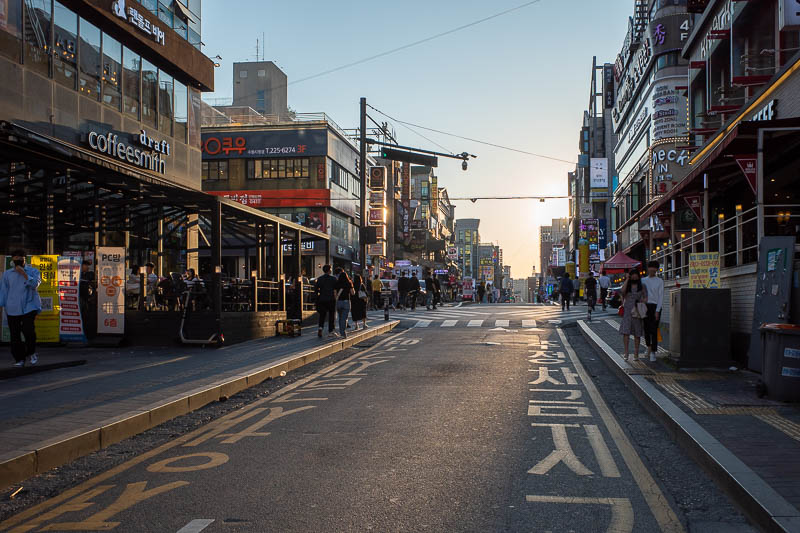
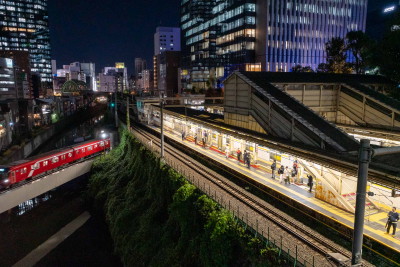
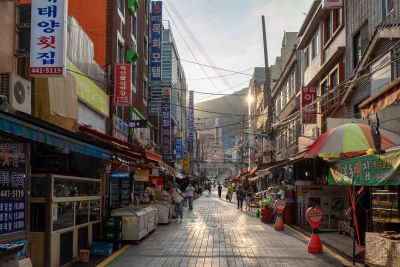
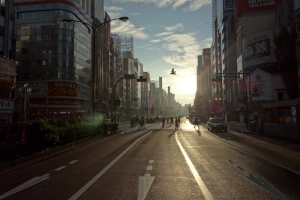
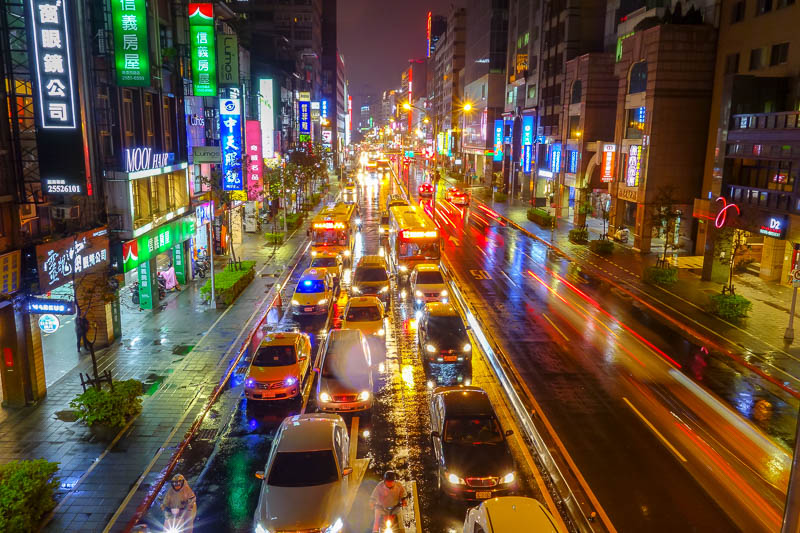
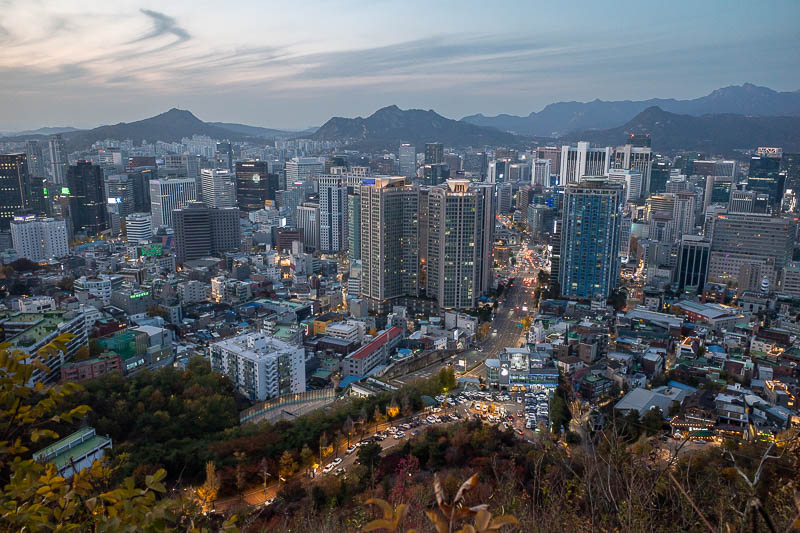
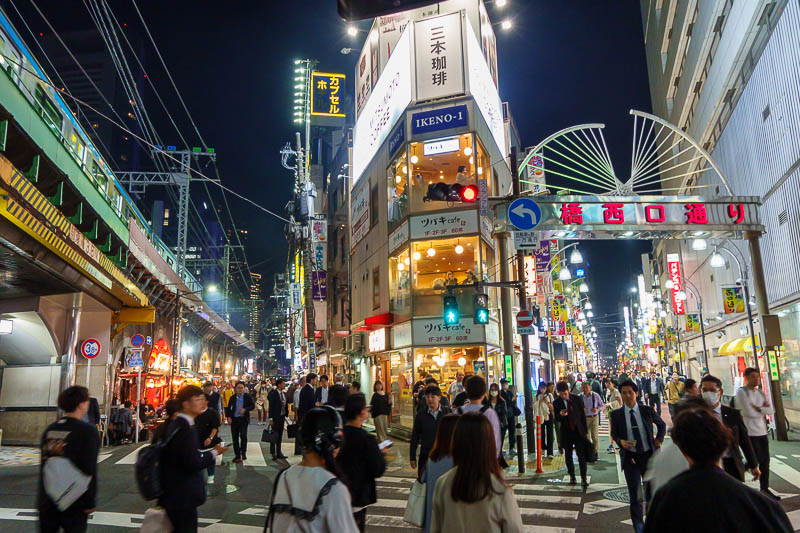
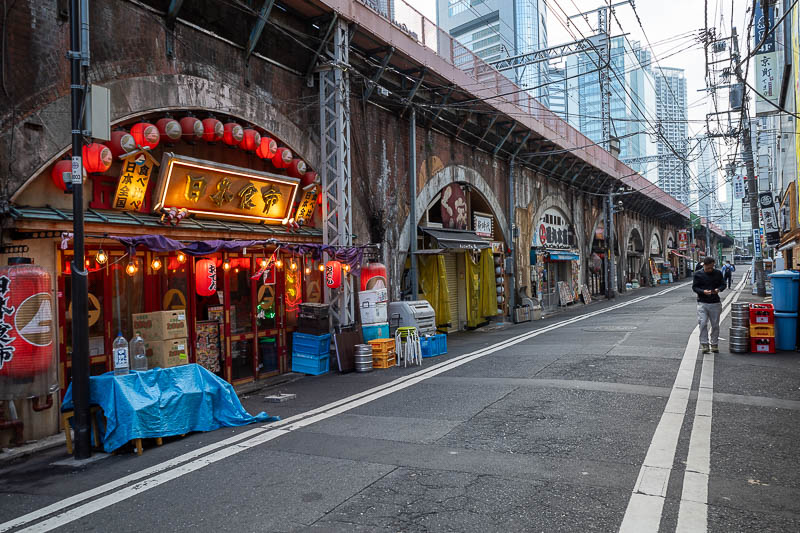
This photo was taken on the last trip, which was late spring and early summer. Because I go to sleep early I did not really get to experience any neon night time glow. This time I am going late Autumn, and it gets dark much earlier..
I have changed my whole site to be dark mode. Dark mode is everywhere now. I think it might even be default mode on Windows 11? So to de-boomerize myself, here it is, dark mode. It is also blue instead of red.
Actually there are some other improvements also, the photos will generally take up more real estate on bigger screens and show higher res versions, but it should still work on phones etc as well. It is a bit tricky to cater for everything and I am not sure how the font scaling is handled for all you guys with weird 5k screens with odd scaling - a pixel ratio purely designed to break all sites not specifically designed for the think different kool aid crew.
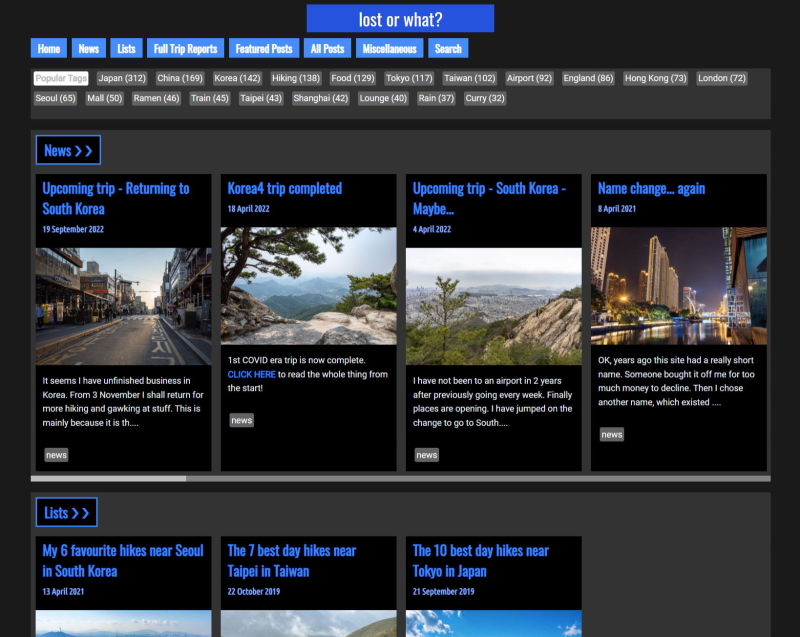
A screenshot of dark mode. When I eventually switch to bright green mode or whatever the next trend the kids demand is, this will be a reminder of how dated my site looked when it was dark mode.
I was back in Korea for the 2nd time in a year. CLICK HERE to read the whole thing from the start.
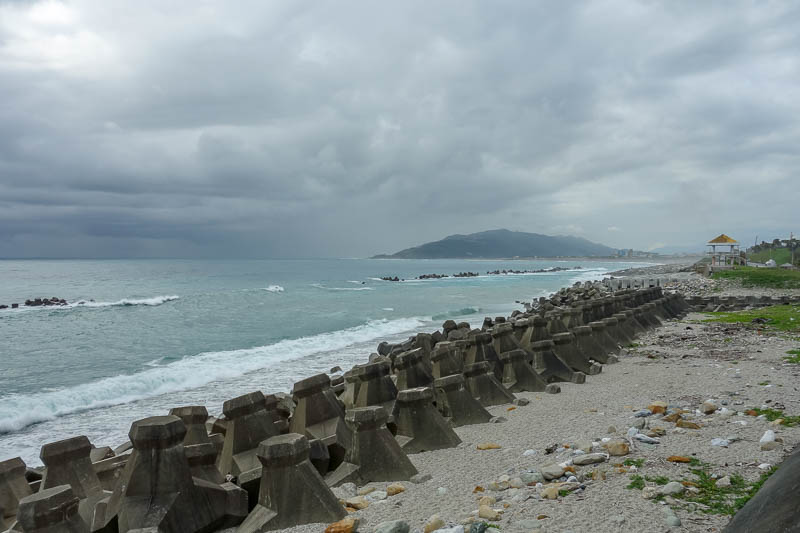
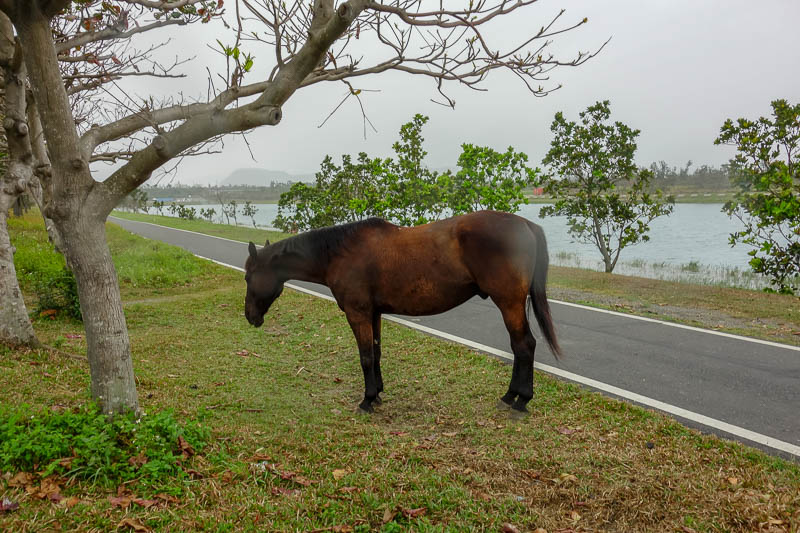
Apparently war might break out in Taiwan any day now. So from 27 April I will head back there for a month long holiday, my 5th time in Taiwan. This time I will be visiting Taipei, Yilan, Keelung and Taichung. And then due to some flight dramas, a day in Singapore on the way home.
I was back in Taiwan for the 5th time. CLICK HERE to read the whole trip from the start.
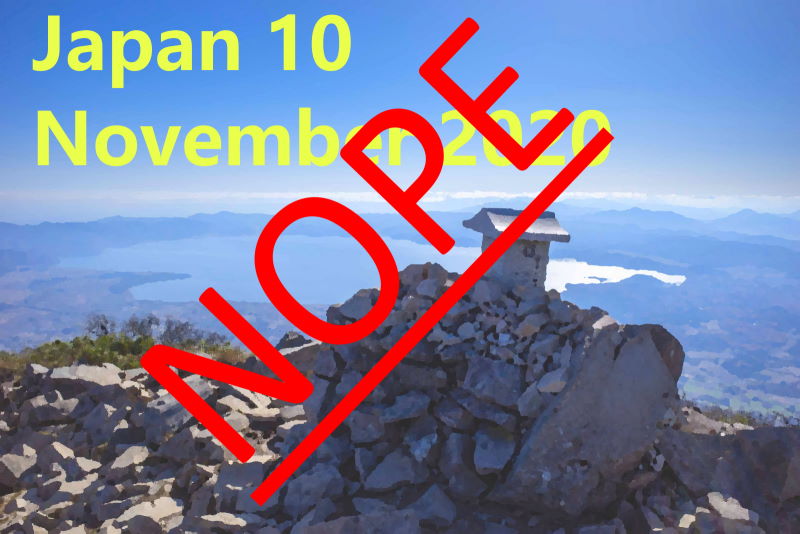
After cancelling 3 times in 3 years due to Japan remaining closed from snotty foreigners, it looks like from 28 October I will finally be able to make my 10th trip to the land of many hiking trails.
My 10th trip to Japan is now complete. CLICK HERE to go to read the entire thing from the start.
On March 30 I will head back to Korea for 4 weeks. My 6th time there. Somehow there will be an election on again while I am there to give me something to rant about.
My third trip to Korea in 2 years is over. CLICK HERE to read about it in full.
On October 26 I will once again head back to Japan for a 4 week stint, which will be my 11th time. The USA election will be on, I am usually there while it is on, so maybe the end of the world?
My annual trip to Japan is over. CLICK HERE to read in full.
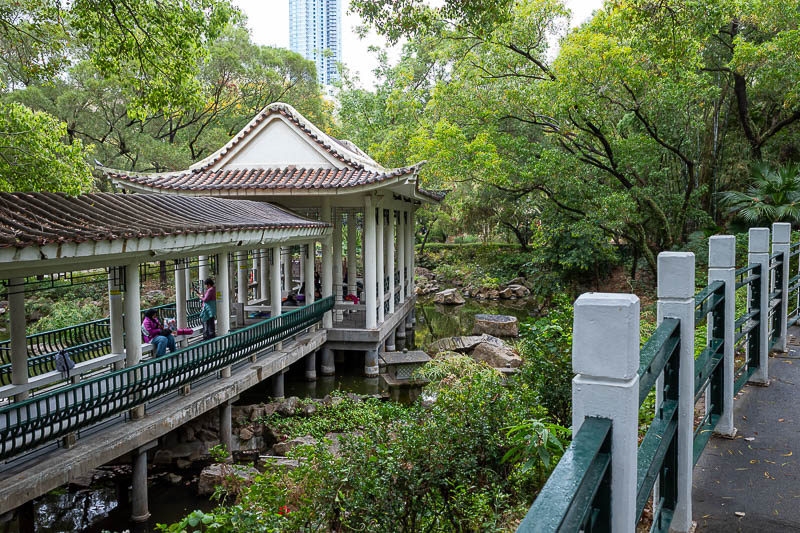
From March 29 I will be going to Hong Kong, then Japan focusing on Kyushu, then Singapore for a couple of days on the way back. I normally go to Japan in November not April, in 2025 I will go in November too. Japan overload.
Cringe inducing nonsense was documented. CLICK HERE to read it all from the start.
I was in Japan in April, which makes this years annual Autumn trip my 13th trip. Twice in one year. My numbering system is all confused. Anyway, this Autumn I will be there from 25 October.
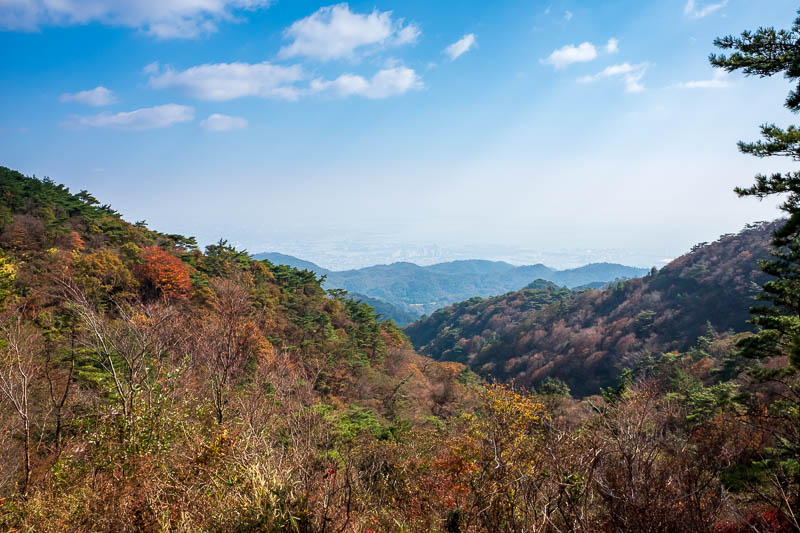
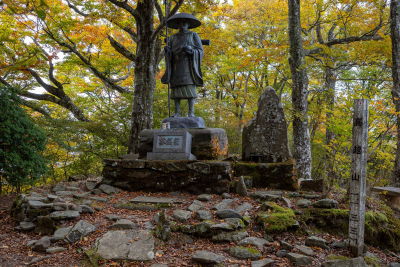
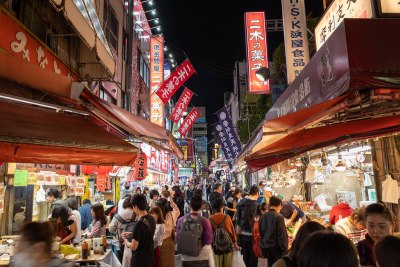
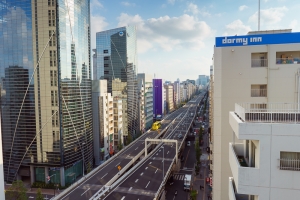
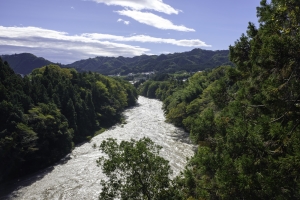
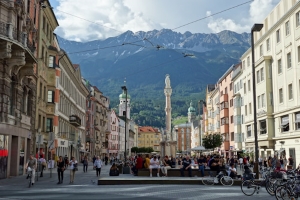
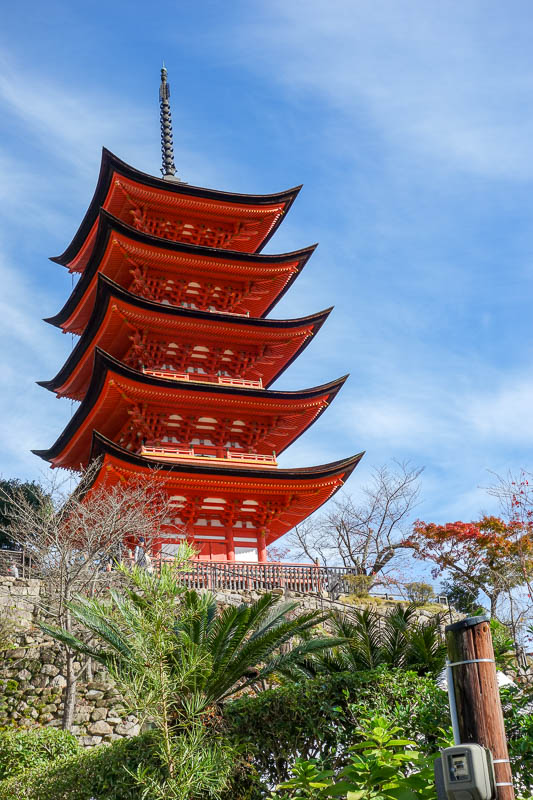
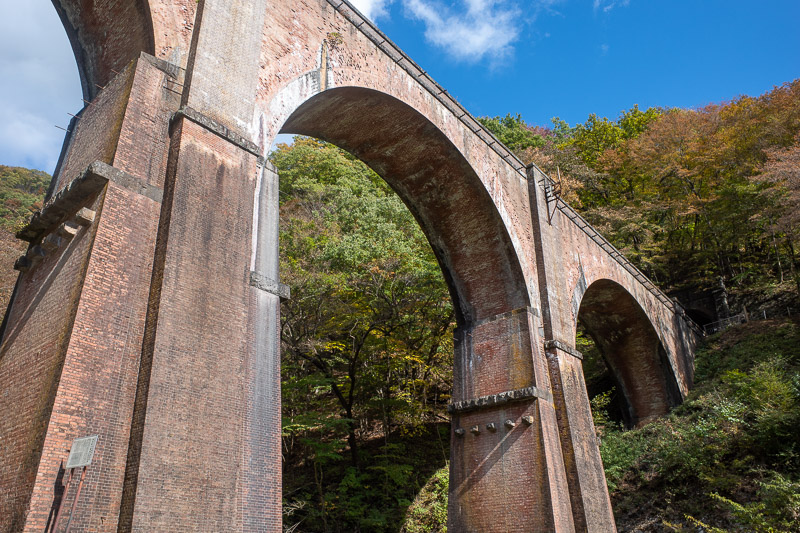
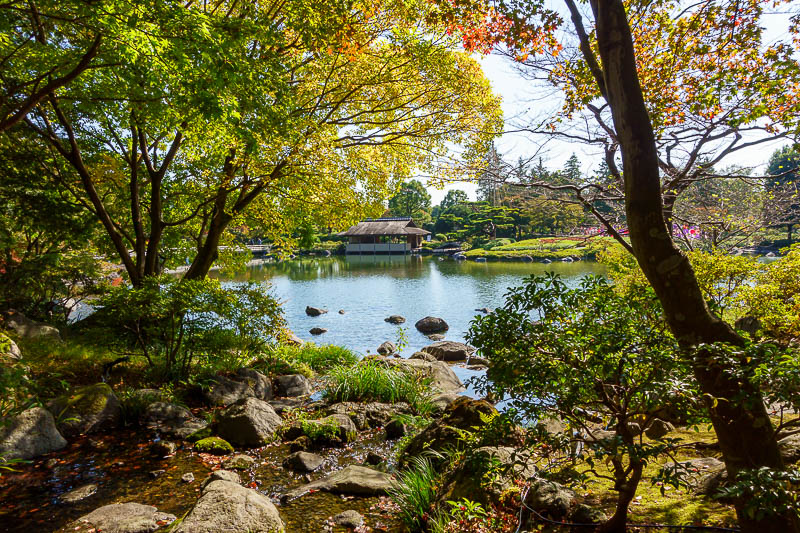
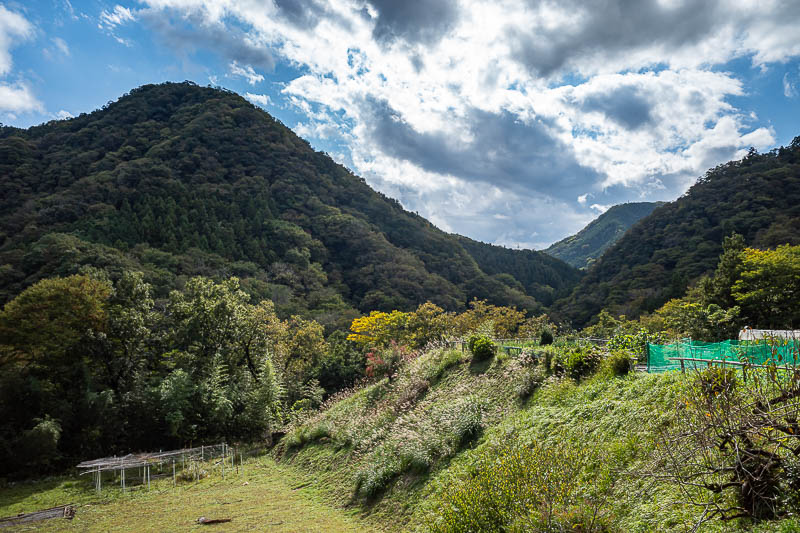
This photo was taken the last time I was in Kobe, in 2017. I will be back in Kobe during my upcoming trip, as well as 3 cities I have not been to before.
My 13th trip to Japan is over for another year. CLICK HERE to read the whole thing from the start.
The end....for now....


There are currently 1 comments - click to add
mother on 2019-10-26 said:
I read all of this. Can't say I understand all the technical details, but the comparison photos were excellent. Now I can see how crap my blog photos are.